Tuesday, August 27, 2019

13 Arts "In Bloom" ~ Oversized Teepee Card

Hello, all! 

Sandi here sharing an oversized, modified Teepee Card for the group post over at 13 Arts. This time we are featuring the new "In Bloom" collection. 


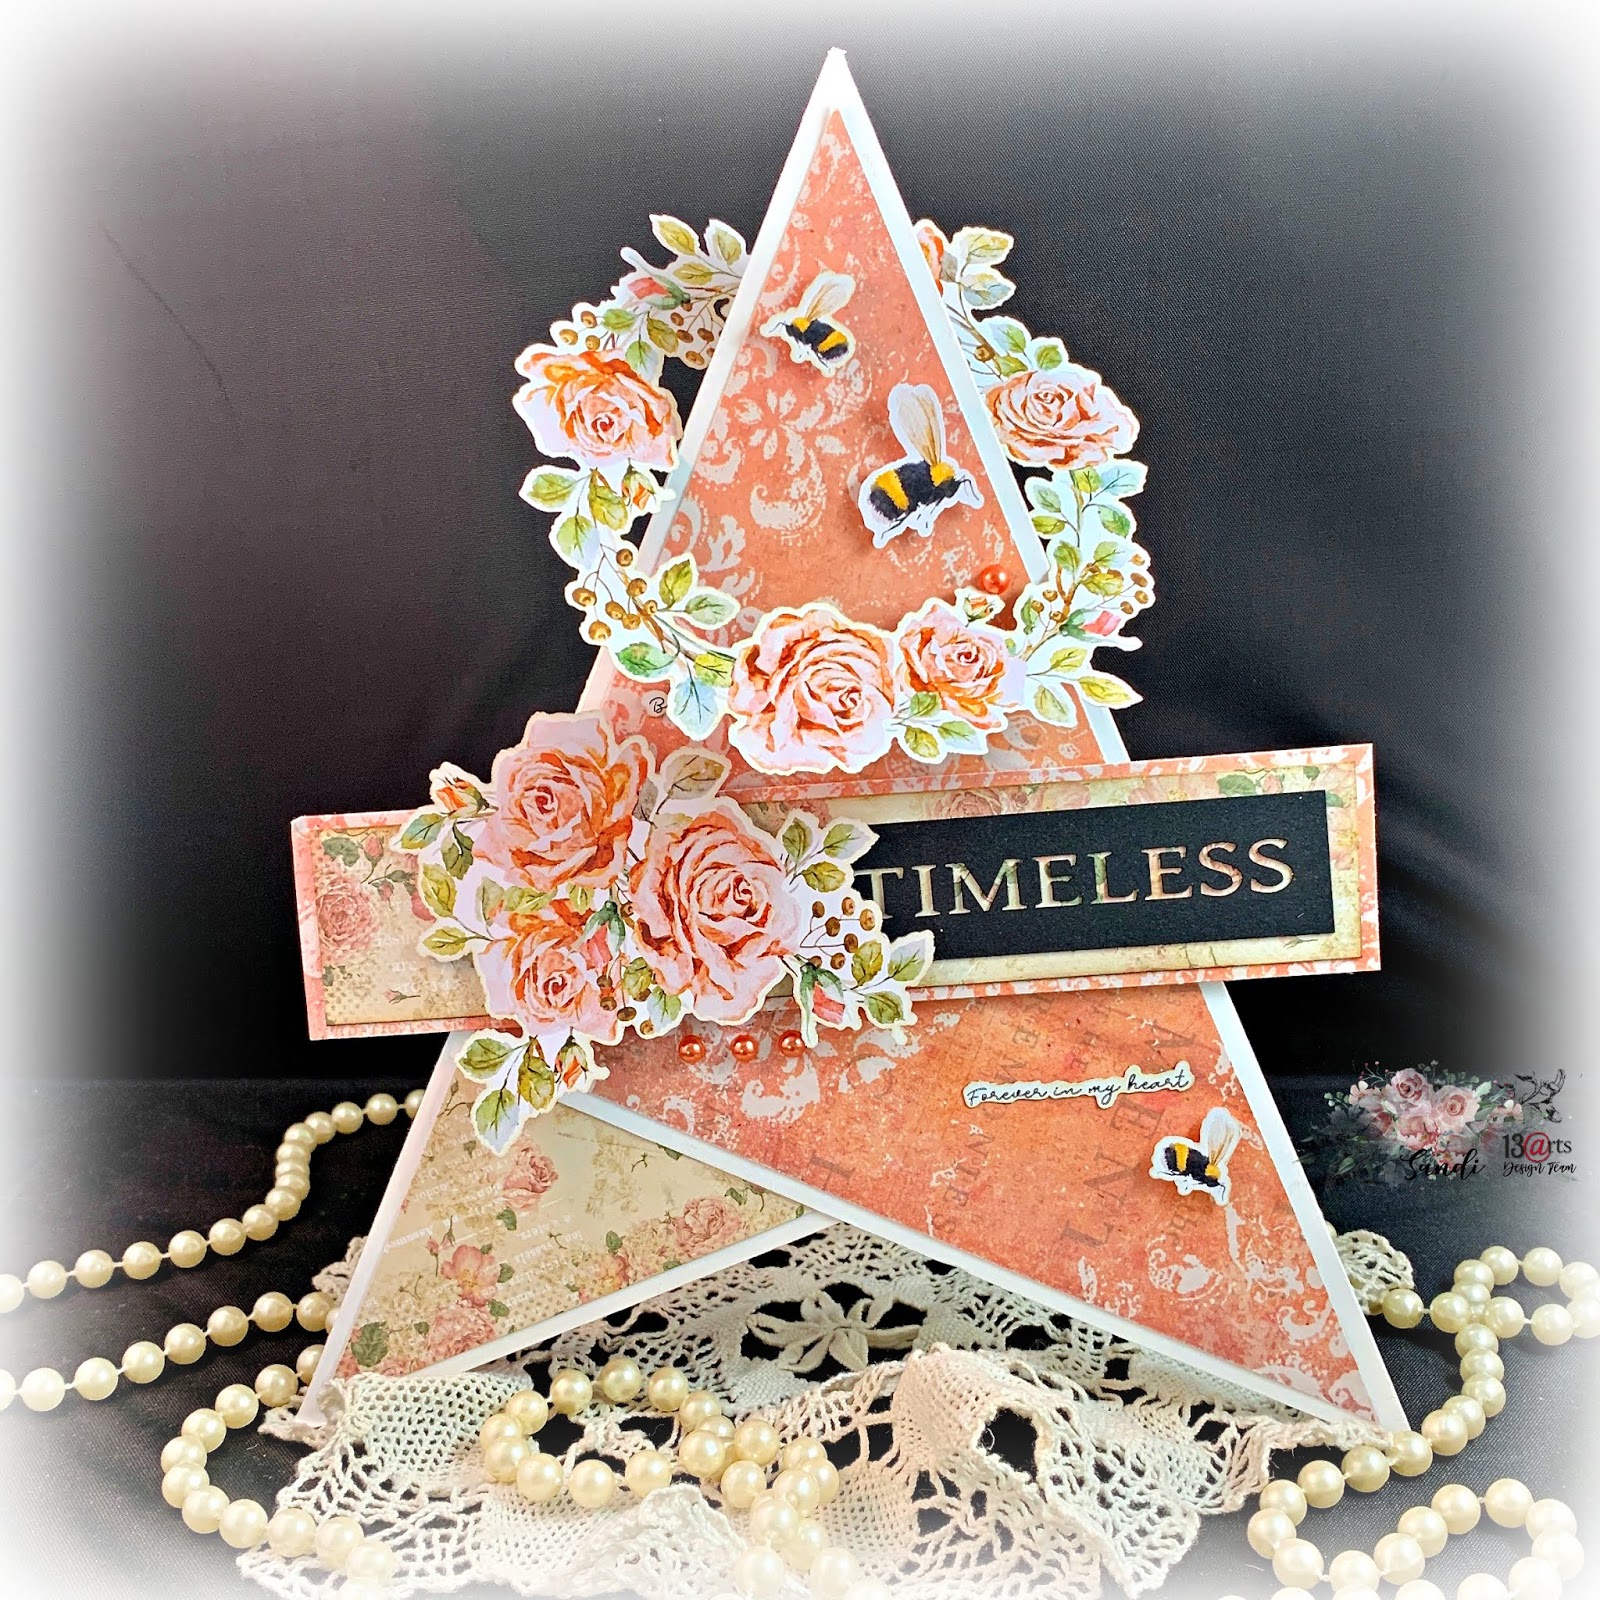
I decided to try my hand at another oversized teepee style card. I make mine somewhat modified but they are fun to create and make quite an impact! It is almost 8 inches in height. 

I love this new In Bloom collection by Olga Heldwein. It is quite romantic and has some awesome co-ordinating ephemera. 


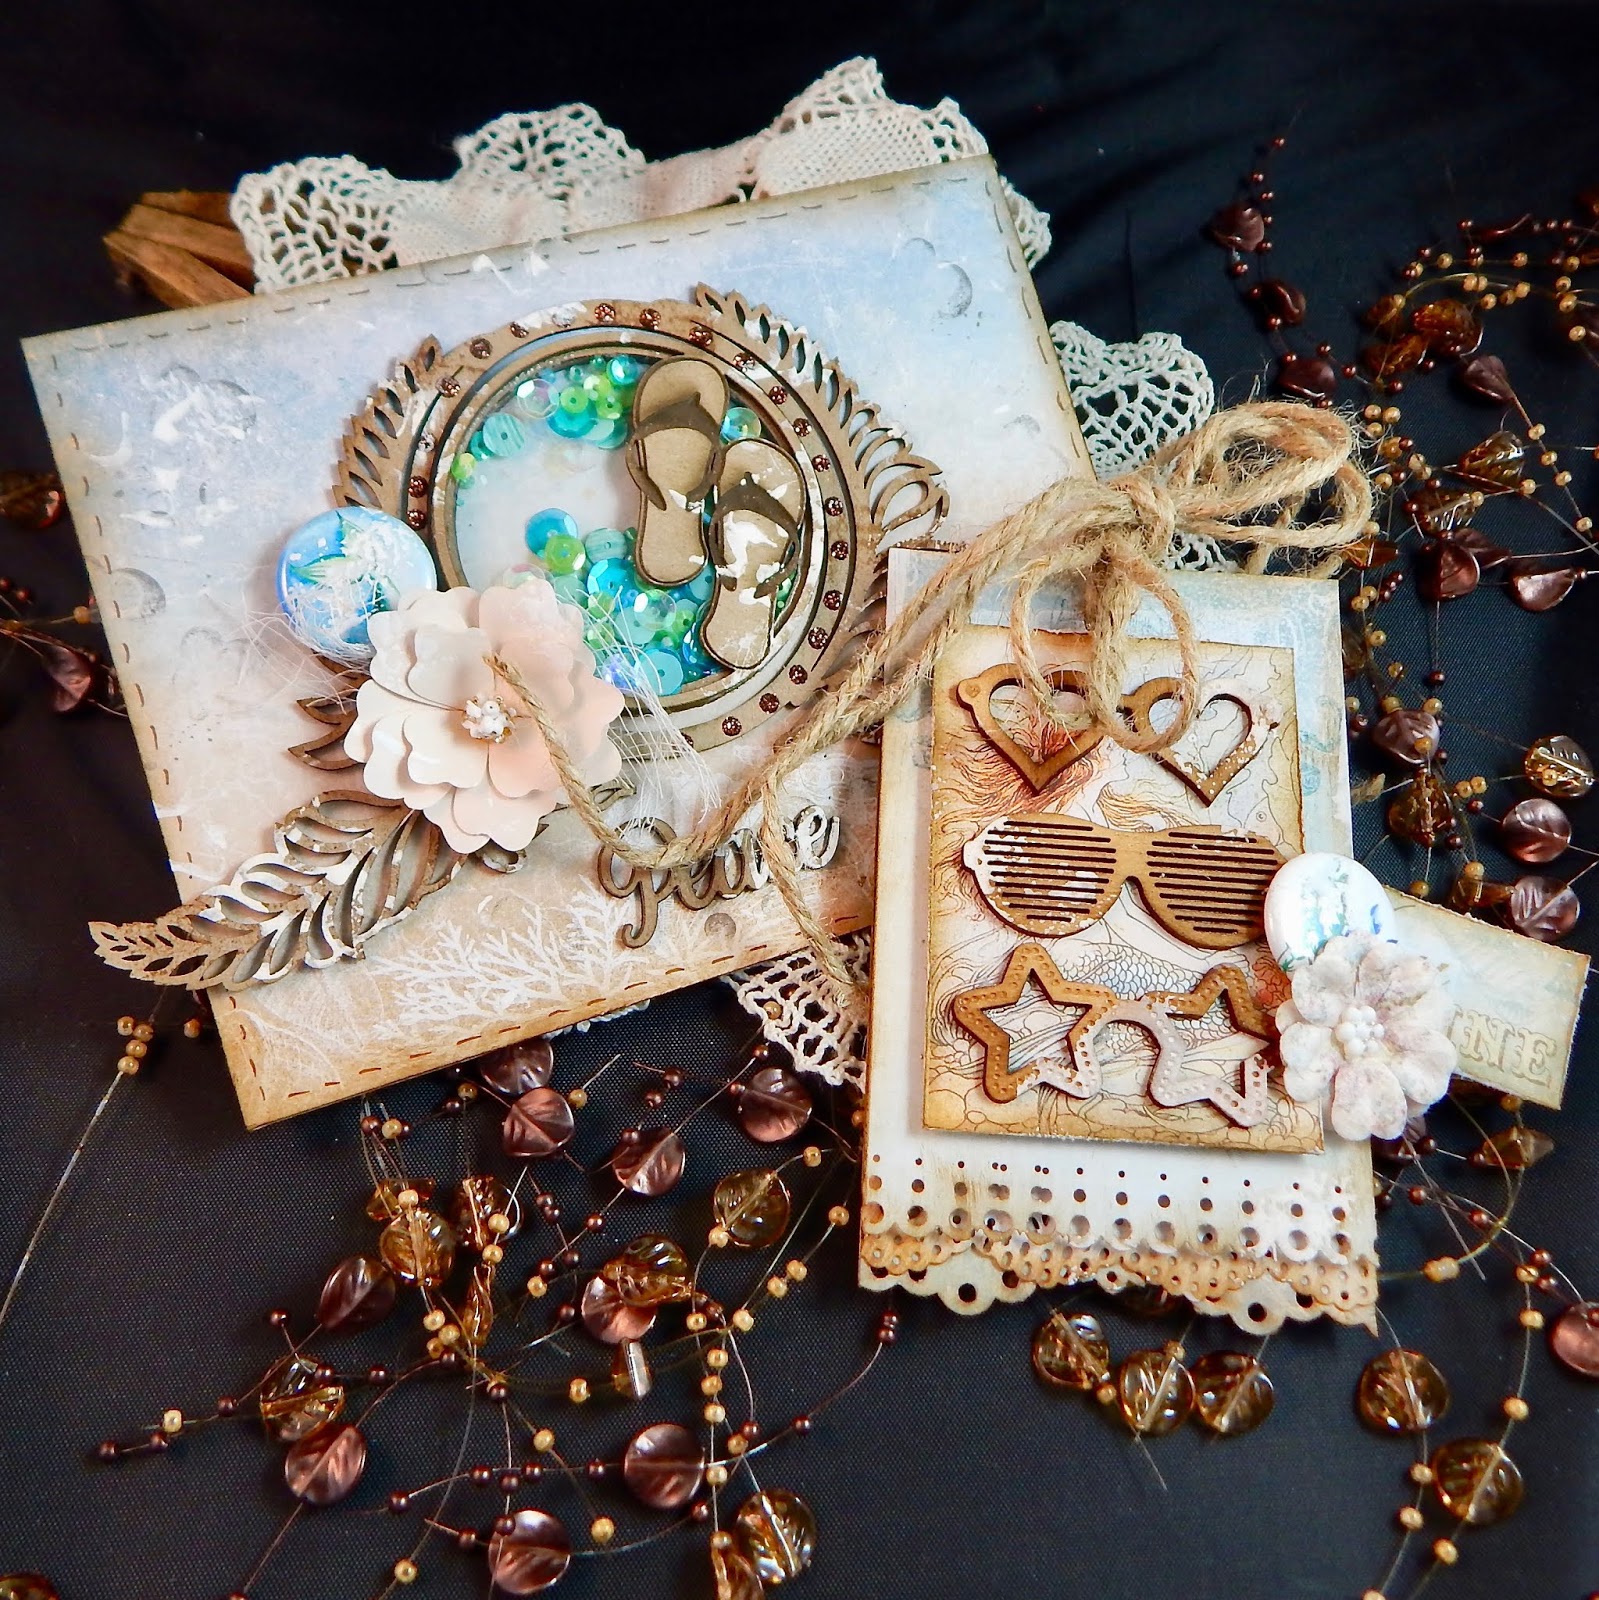
Here is just a close look at some of the beautiful die cut pieces in the pack. 


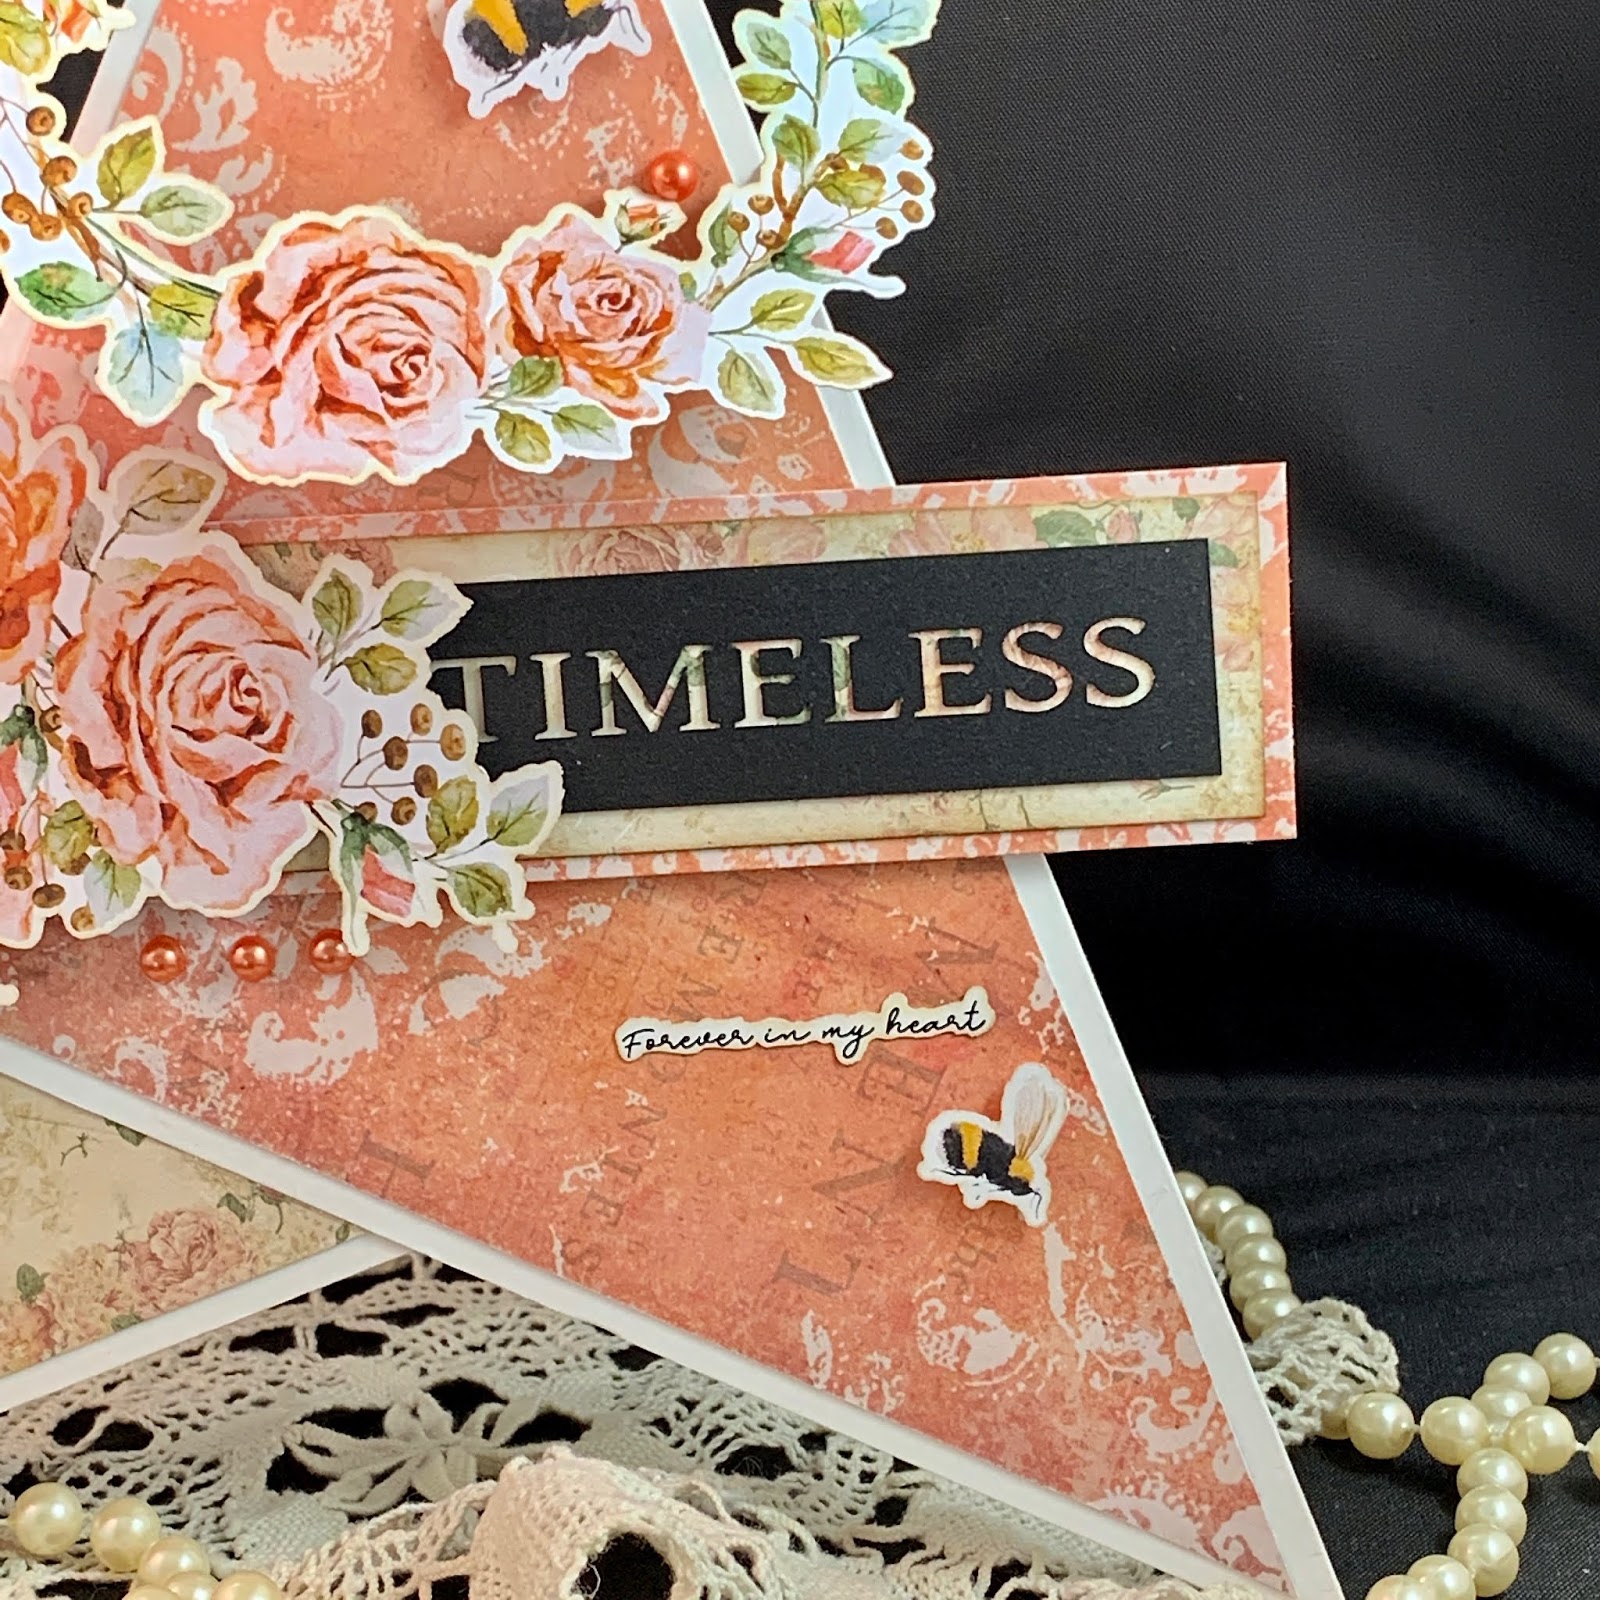
The new black chipboard pieces are bold and beautiful! I want to use them on everything, haha! 


On the inside, I drew some lines for writing out a sentiment when the time comes to give this treasure one of my family or friends. 


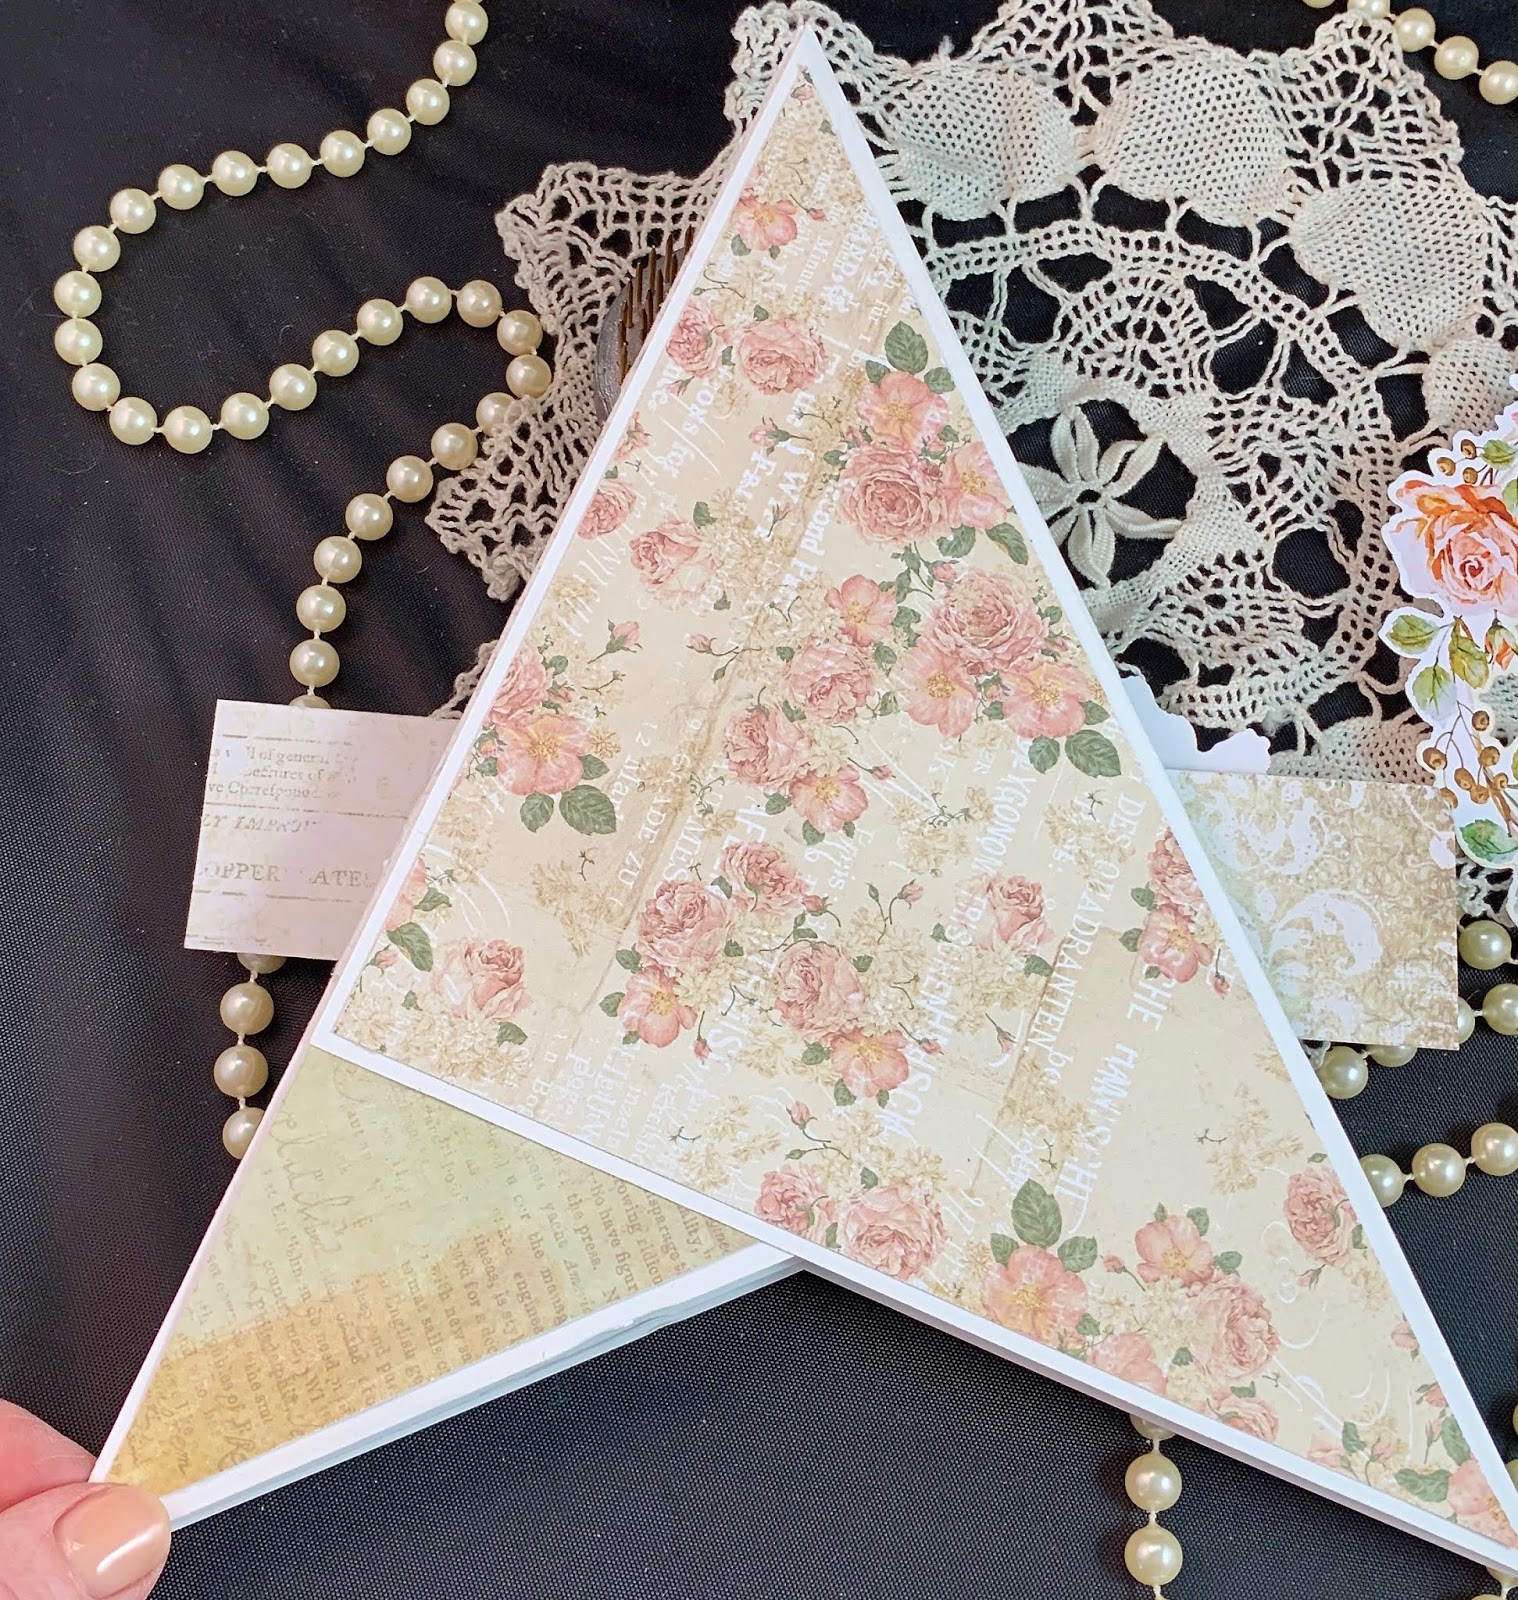
This is just a photo of the back of the card .. which I kept flat and simple. 

Here are the products used today: 

13 Arts products used:  
                                               

Thanks so much for coming by! 
Sandi


Thursday, August 22, 2019

"Shine" ~ 13 Arts Grungy Walls Layout

Hello, everyone! 
Sandi here with you today from the very hot, hot, hot State of Texas, USA. Temperatures are in the triple digits. 

With some cooler weather in mind, I'm excited to finally scrap this photo of little Peyton from a Fall Festival a few years back. I also wanted to have a little fun with the new Grungy Walls collections. 


Here is my finished project. 
I began with some fussy cutting of elements from the Scratchy Walls paper. .. lovely flowers along with feathers, arrow and chains. I set those pieces aside and layered more of the Scratchy Walls paper on top of the lovely Washed Wood paper. After applying a layer of Clear Gesso, I used some whitened Modeling Paste and pushed it through the Night Flowers Stencil. When that was dry, I randomly stamped black ink with the Blueprint Stamp


After tearing some of the Rusted Paper from Grungy Walls for part of my photo layers, I used the B side for my actual photo mat. I adhered the photo pieces to some corrugated cardboard and then began adding in my fussy cut elements as well as some various chipboard pieces from the 3 sets listed below. 


For texture, I tucked in some Ecru Sisal and some of my fave Gold Microspheres


A few 13 Arts Flowers were added as embellishments as well as a few older Petaloo from my stash to make that painted face and pizza pop! 


Aside from my Ayeeda Paint - Matte White mixed in with my Modeling Paste, I didn't really use any colored wet mediums on this sweet page. However, I'm very pleased with how it turned out. 

Thanks for coming by the blog today! 
Here is a shopping list if you wish to create a similar page. 


Friday, August 16, 2019

Always ~ Creative Embellishments

Hello, Creative Embellishments fans! 
Sandi here with you today sharing a layout I created recently. 
Lately I have been creating a lot of cards and tags, so creating on a 12x12 layout seems gigantic, haha! 


I've been wanting to create with this photo taken last Thanksgiving when 3 of us showed up to dinner wearing black and white flannel plaid. So, naturally we had to snap a photo. 

For my creation, I wanted to use this new paper from 13 Arts Summer Rhapsody. Since it is not Autumn colors, I decided to use some elements representing nature. I had just re-ordered the Dandelions, so I chose those along with some bonus flowery leaves from the Autumn Leaves Set


I framed my photo with the Film Strip Picture Frame Set after dabbing it with white gesso much like all the other chipboards save for the tittle piece. 


I prepared my background with clear gesso and then dabbed white gesso around my focal area and also highlighted that area with 13 Arts acrylic paint and acrylic medium. For more dimension, I also dabbed some gesso through my Distressed Patterns Stencil


The dainty little title piece is a new one from the Everyday Word Set. It was painted pink with my 13 Arts acrylic Pink matte paint and then frosted it with some glitter snow. 


I adore how Nicolle captured the true nature of blown dandelions with these fab Dandelions. All I did was dab them with gesso and then frosted them a bit with my glitter snow for texture. They were placed in a falling manner to further communicate their nature. 


Here are the little bitty ones from the set. Aren't they cute? 

I finished with some paint splatters and some 3D balls. 

Just a quick, totally non-stressful project. I think the Dandelions made for the fun! 

Thanks for coming by today. 


Creative Embellishments products used: 
Chipboard: 
Stencil:


Monday, August 5, 2019

Shaker Card and Tag Set ~ Creative Embellishments

Hello, Creative Embellishments fans!

Sandi here with you today sharing a fun card and tag set.
This time around I've gone with a Beach theme which is way outside my comfort zone. However, with the right CE products, it's easy to tackle those challenges. 


Here is a quick shot of the card and tag together. They make a nice pair although they use different Creative Embellishments products. The paper collection, raw chipboard/veneer and the common beach theme tie them together.


For a fun little twist, I've used the Fern Frame on my card and set a Beach ATC Coin right in the center of it. To amp it up even more, I created a shaker out of the ATC by using the new spacers ..  ATC Coin Ring and Shaker Acrylic Pieces. What a great idea, huh?

For a card sentiment I used the word Peace from Christmas Sentiments


The real work was in coming up with a design. Putting the shaker together was just pure fun! I'm loving how cute those Beach ATC Coins flip flops are with those amazing sequins and beads from Buttons Galore and More inside the shaker created with the ATC Coin Ring and Shaker Acrylic Pieces.


This is probably one of the most fun small but quick tags I've made! I had the idea to use sunglasses along with the flip flops and pulled out my Geek Chic Glasses to serve as wannabe sunglasses. Eeck, love how these three pair look together! So dang cute!

Then to co-ordinate it with the card, I added another Under the Sea Flair.

Well, that's it for me today!

Thanks for coming by  .... AND if you haven't seen this month's Challenge yet, take a peek right here: HERE. It's a good one, although I'm a little biased.


Creative Embellishments products used: 
Chipboard:
Stamps:
Wood Veneer:
Flair:


Thursday, August 1, 2019

I'm so Excited! ~ Creative Embellishments August Challenge!

Hello, Creative Embellishments fans! 
It's August 1st already, whew, and time for another great Challenge. 

 I had the privilege of designing this month's mood board/inspiration photo and just knew that I would opt for purple! Haha! Instead, I was inspired by the archways as well as the well-styled braid in one of the photos. 

Here is the August mood board: 


And here is my interpretation:


One of my daughters is a hairdresser and recently shared some wedding up-do photos that I wanted to use. I've created on a Large Tag and played with my 13 Arts Rust effects on the arched doors and generally had a little fun.  The "twist" is to add  flowers but I only added a few since I had a plethora of butterflies. All of my papers and medium are 13 Arts. My paper are the new Grungy Walls and I've used the ephemera pack which is full of luscious butterflies. 


I used my 13 Arts Rust Effects on the Arched Doors Set 2. Everything else was painted with 13 Arts paints. My Large Tag, 10. inch was covered with one of the Grungy Walls papers and I used the other side to line the backside of the Arched Doors Set 2.  As an anchor I used a portion of the Lace Border 3. The Archway, style 1 helps to frame the upper photo. I also tucked in a key which I frequently do, this time the Keys, set of 10. I love how rusty the Arched Doors Set 2 came out. 


My maiden name was Key, so I enjoy tucking those in when I create. Also, you can see the Lace Border 3 here. 


Just a little side view to share the dimension. 


On this side the outside of the Archway, style 1 is supported by the photo. 
I was very pleased how well everything came out! 

Creative Embellishments products used:
Chipboard:

I hope you find time to play along with this month's challenge.
Can't wait to see your take!

Thanks again for coming by today! 

Sandi