Hello, scrappy friends!
Sandi here with you today sharing a sweet layout of our youngest daughter with her old "Huggy Bear" and our new golden doodle pup Georgie. Georgie has grown a bunch since then but this pic is just too cute not to scrap!
Especially using all the CUTE "fur-friend" products that Creative Embellishments has to offer ... chipboard, flair and stencil along with a more "everyday" chicken wire stamp.

I love the combination of light blue with brown and yellow as an accent and thought it was a perfect color scheme for my brown toned photo. After choosing my Ivy Wreath and Heart Strings Border, I sprayed them with Walnut Ink .. my most favorite way to alter chipboard usually. While that was drying, I created a design and went to work on my background.
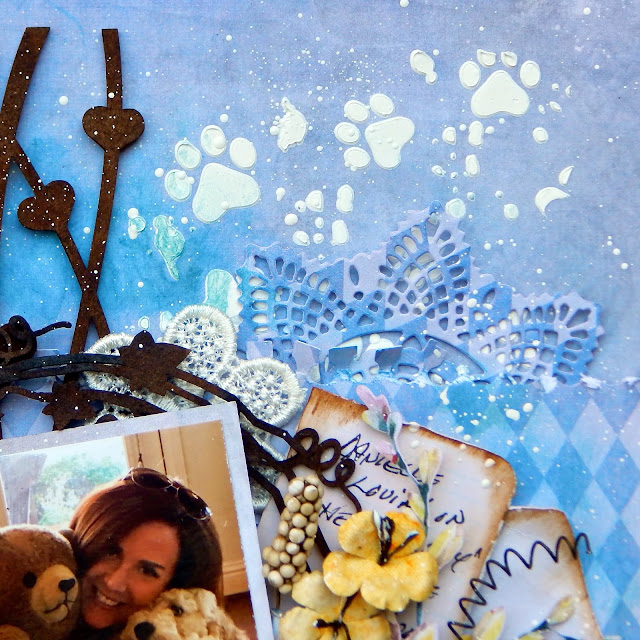
A used the Muddy Paws Stencil and some super heavy gesso to create some texture on my page.
Some mist and stamp work finished off the background.

I adore all the frames that Creative Embellishments has to offer but among them, I have a few faves .. the Ivy Wreath being one of them. It's perfect for any kind of outdoor, earthy or masculine theme project you may have.

For vertical interest, I added the now dried Heart Strings Border (love it!) and used it as a photo layer. At the completion of my project, I splattered everything with white gesso to blend.

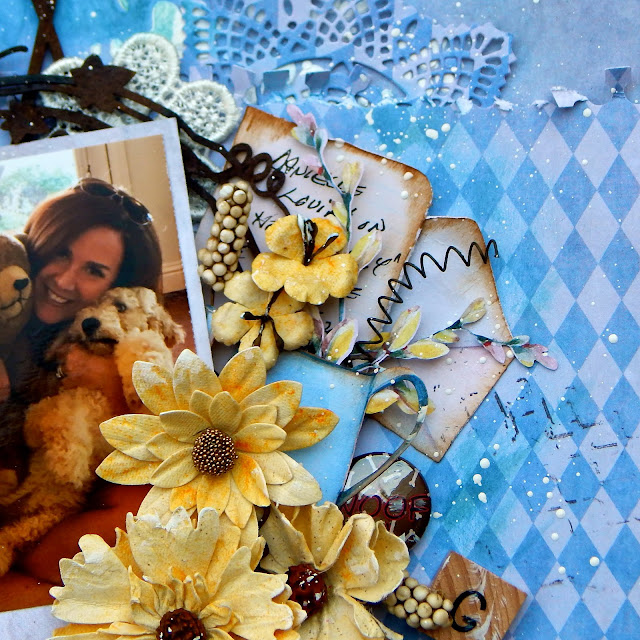
In this close-up you can see some of the stamp work done with the Distressed Chicken Wire Stamp. This stamp is a must-have for me!
More stamping but also a close-up of one of the 3 cute flairs I used from the Puppy Love Flair set. Of course, you can see that I went a little crazy with flowers but hey, it was fun!
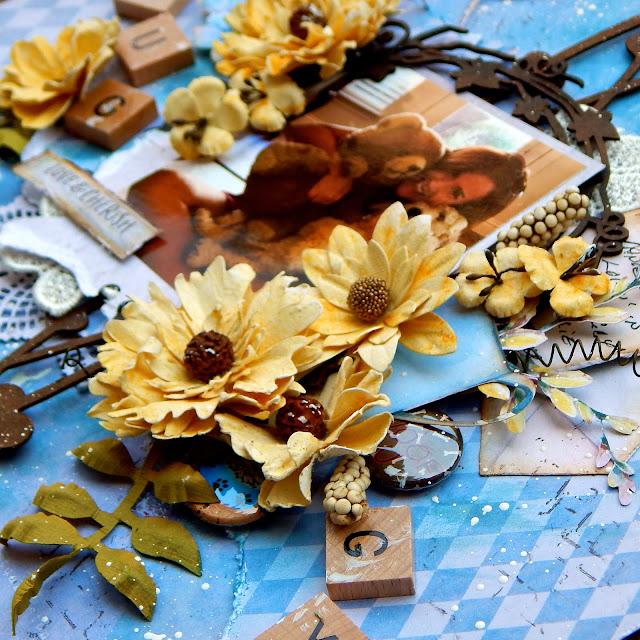
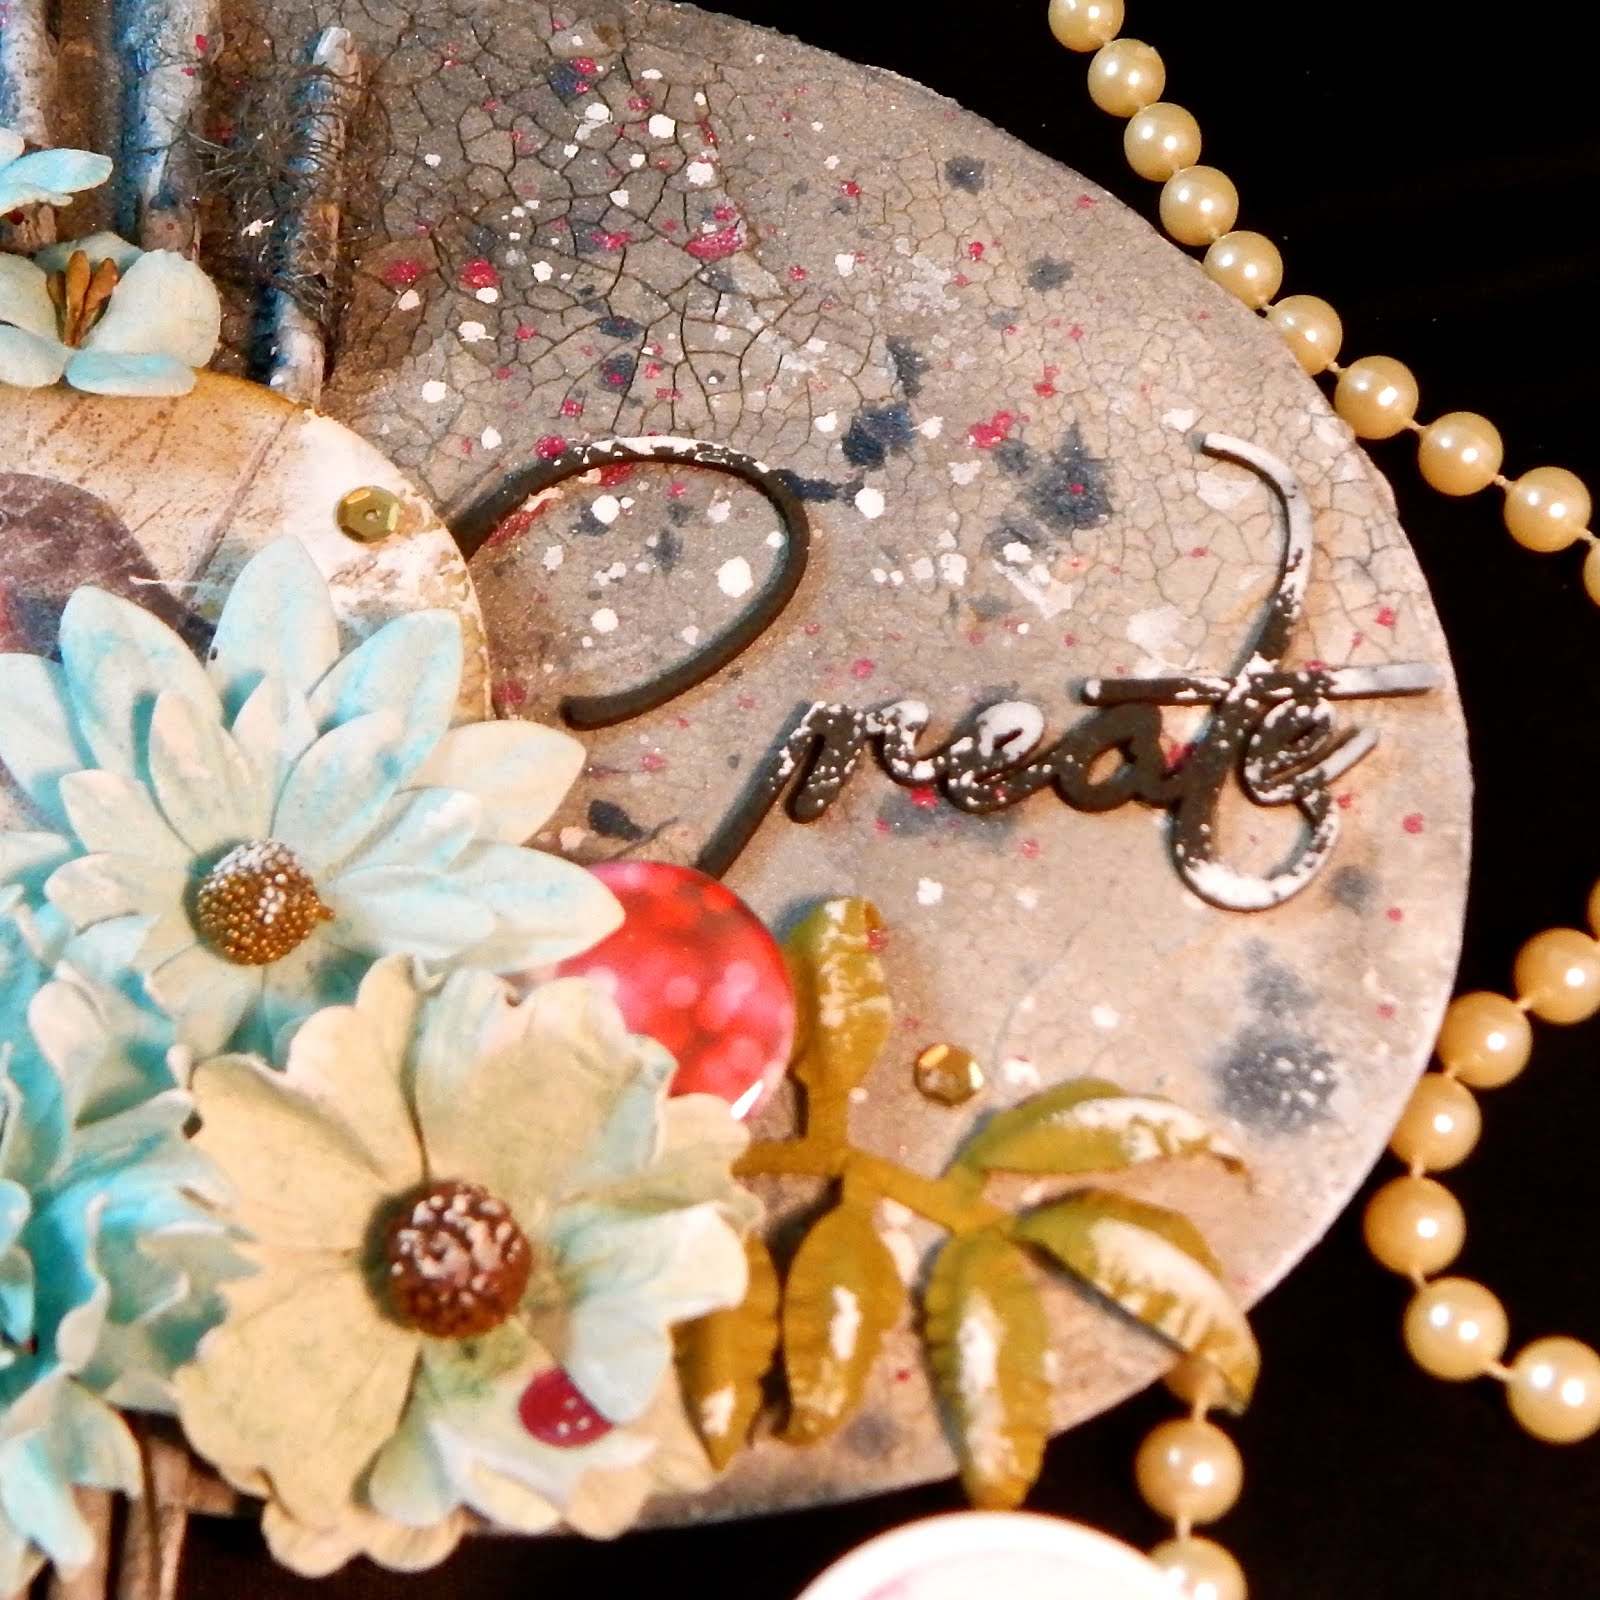
For a title, I decided to use some scrabble type tiles that I had on hand as well as a phrase from the branding strip.
This photo was mostly about my daughter and her love for her old "Huggy Bear"... but this is also Georgie's debut, lol!
And lastly, there's another sweet flair poking out near the bottom ...
That's it for today.
We are so glad you came by.
Be sure to check out all the new chipboard pieces that Nicolle has just designed and released in the store! I'm over the moon with the new collage type pieces!
 Sandi
Sandi
Creative Embellishments Products used:
Sandi here with you today sharing a sweet layout of our youngest daughter with her old "Huggy Bear" and our new golden doodle pup Georgie. Georgie has grown a bunch since then but this pic is just too cute not to scrap!
Especially using all the CUTE "fur-friend" products that Creative Embellishments has to offer ... chipboard, flair and stencil along with a more "everyday" chicken wire stamp.

I love the combination of light blue with brown and yellow as an accent and thought it was a perfect color scheme for my brown toned photo. After choosing my Ivy Wreath and Heart Strings Border, I sprayed them with Walnut Ink .. my most favorite way to alter chipboard usually. While that was drying, I created a design and went to work on my background.

A used the Muddy Paws Stencil and some super heavy gesso to create some texture on my page.
Some mist and stamp work finished off the background.

I adore all the frames that Creative Embellishments has to offer but among them, I have a few faves .. the Ivy Wreath being one of them. It's perfect for any kind of outdoor, earthy or masculine theme project you may have.

For vertical interest, I added the now dried Heart Strings Border (love it!) and used it as a photo layer. At the completion of my project, I splattered everything with white gesso to blend.

In this close-up you can see some of the stamp work done with the Distressed Chicken Wire Stamp. This stamp is a must-have for me!

More stamping but also a close-up of one of the 3 cute flairs I used from the Puppy Love Flair set. Of course, you can see that I went a little crazy with flowers but hey, it was fun!

For a title, I decided to use some scrabble type tiles that I had on hand as well as a phrase from the branding strip.
This photo was mostly about my daughter and her love for her old "Huggy Bear"... but this is also Georgie's debut, lol!
And lastly, there's another sweet flair poking out near the bottom ...
That's it for today.
We are so glad you came by.
Be sure to check out all the new chipboard pieces that Nicolle has just designed and released in the store! I'm over the moon with the new collage type pieces!

Creative Embellishments Products used:
Chipboard:
Stamp:
Flair: