Friday, October 29, 2021

Boho Slimline Card for 13 Arts

Hello, creative friends! 

Sandi here with you today to share my latest project for 13 Arts

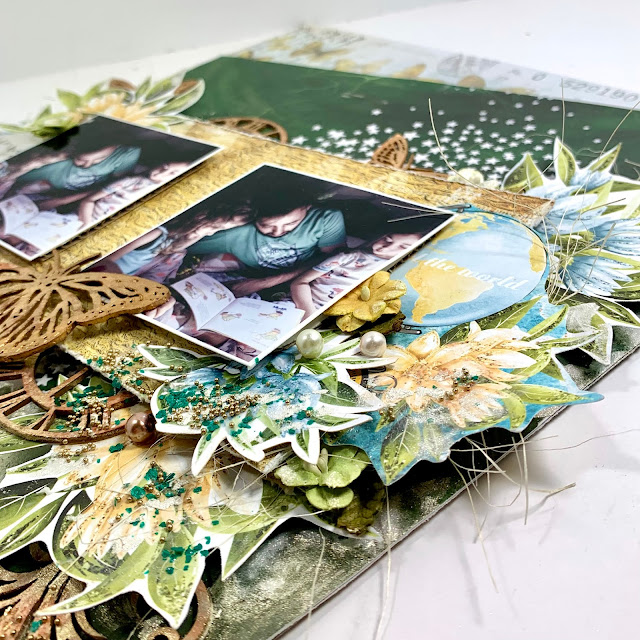
I decided to grab the new Home Sweet Home collection and use my Pink Fresh DL stitched dies to create a new slimline Boho style card. 


I just adore the 2 papers that I chose, Living Room (cream) and By the Fireplace (logs). 

I did multiple layers and placed corrugated cardboard between the 2 primary layers. 
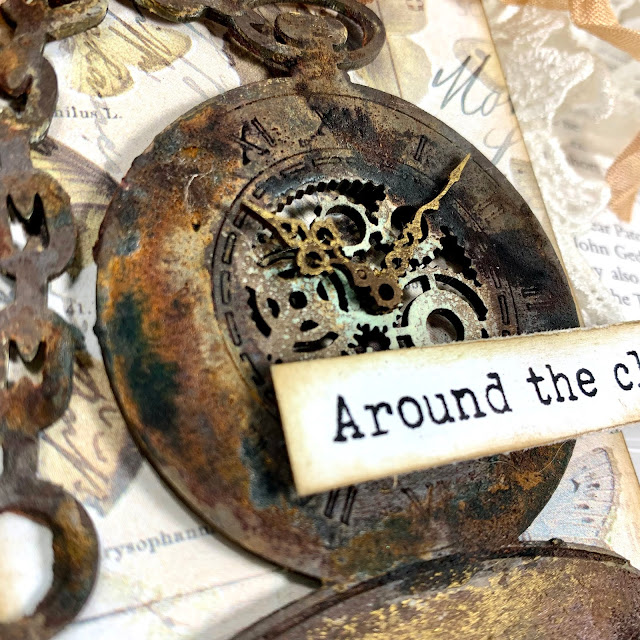
For texture, I used the Return Ticket stencil from the Back in Time collection and used Amber Color Glow for a bit of color. 


Next I started working on the focal area where I've added bits of distressed crochet lace and sisal, then the gorgeous leafy chipboard from the Home Sweet Home chipboard set. This was also colorized with the Amber Color Glow just enough to darken them. 

Then I just started adding die cuts pieces, fussy cut tags and stickers from the collection. For the circular sticker, I've added a cabochon for interest. 

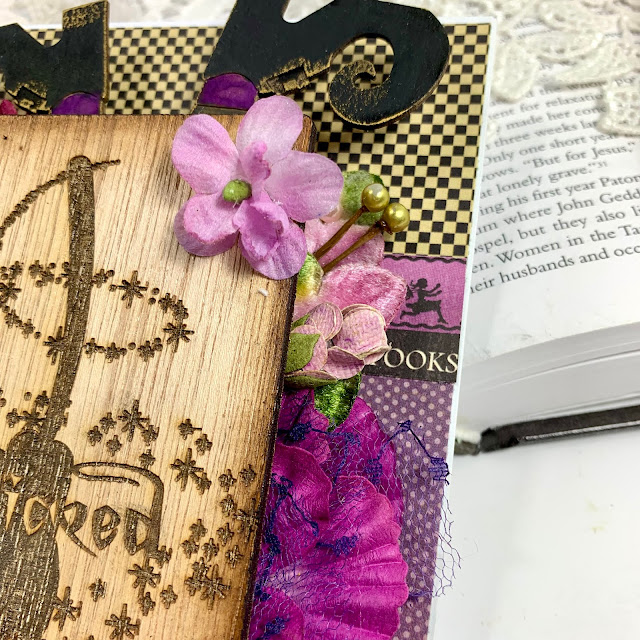
Of course, I finished with my three dimensional flowers to which I've added Brown microbeads. 


For my sentiment, I added a For You die cut from the ephemera pack and layered it over a weaved basket ephemera piece which I cut down to be a bit more the right size dimensionally. It was adhered with more cardboard to add the height. 


At the end, I added a twine bow just because I wanted plenty of texture and then I splattered watered-down white gesso over everything to blend. 

That was the final step. 


Here is a quick photo of the primary products used in my card making. 

Thanks so much for coming by today! 
As always, I appreciate your time and your visit! 

See you next time! 

Sandi 


Wednesday, October 27, 2021

Vintage Card and Tag Set with Sandi ~ Creative Embellishments

Hello, creative friends! 
Sandi Clarkson here with you today sharing my newest creations for  Creative Embellishments


    This time I opted to create a slimline card and then last minute, decided to add a tag as well. The papers are all from the new 13 Arts Back in Time collection which I adore! 

My stitch embossed layers were cut with a Pink Fresh die set and the base is hand trimmed. 


I've been wanting to create using the Flourish 5 piece which I haven't used in several years actually but it has a special meaning to me. I altered it with antique ivory paint and then inked it with Painted Peel Distress ink as well as Maraschino CherryPowder Puff ink from Quick Quotes. 

I decided that the Steampunk Pocket Watches would make a great retro layer for my vintage image, so I dabbed paint and then applied 13 Arts Rusting Powder and used the Reagent to make it turn rusty. 
Love how that turned out! 


Just a close-up of the Flourish 5 piece. I used this piece back in 2014 when I was first on the Design Team and added it to a family Christmas layout. So versatile! 


I used corrugated cardboard to add height to my watch pieces as well as to my vintage lady from the Back in Time ephemera pack. 


The Believe sentiment piece is actually from the Christmas Sentiments set.  It has been randomly hiding under my mixed media mat and I found it last week while cleaning, ha! It was also altered with the antique ivory paint with Maraschino Cherry Chalk Ink to coordinate. 


Additionally, I tucked in a leafy die cut from the same ephemera pack as my paper doll. The top bloom was one that I snipped off the flourish and replaced here so that it would be visible and not hidden by the paper doll. 


I am loving the Rust effects on my chippys! These were allowed to air dry versus heat set due to odor. 


I decided to create a small Tag to coordinate with my card because I had scraps laying around and to make a more complete project. I pulled out the Pocket Watches set and altered this one the same as the Steampunk watches mentioned above. 


The watch was also given dimension with some corrugated cardboard. For a sentiment, I grabbed from the Back in Time ephemera set and distressed it as well as added dimension. 

I hope today's post inspires you to take time to create! 
There are SO many great products in the Creative Embellishments store. 

See you next time. 
Thanks so very much for dropping by the Blog. 

Sandi


Creative Embellishments products used: 

Chipboard: 
Steampunk Pocket Watches


Thursday, October 14, 2021

Shabby Chic Slimline Cards for 13 Arts

Hello, 13 Arts fans! 
Sandi here with you today sharing some uber romantic slimline cards featuring the older Rosalie collection. 


One secret to great shabby chic is white, black and pink! 
I've made use of that along with lots of layering. 
Each card has some stenciling and color work with 2 different stencils and modeling paste, 
Both were colorized with Pastel Cinnamon mist. 


This was the first card that I created and it took me awhile to figure out my design and ephemera pieces. Once I committed, everything came together beautifully. 

This one has some Rosalie chipboard; some painted white and the other black. 

It was finished with gesso splattering and white microbeads. 

Here are a couple of close-ups: 


Love how it turned out! 


This was my next card and it actually went together very quickly as opposed to the first card. 
I think because some of the elements were already a given. 

I used the woodgrain stencil on this one whereas the first used the postcard stencil. 
I've used the same lace as Card #1 and some similar flowers. 

Here are the close-ups:


And here are the primary products used: 


Thanks for coming by today! 
See you next time! 
Sandi


13 Arts products used: 

#13artspostcardstencil

#13artswoodgrainstencil

#13artsmodelingpaste

#13artspastelcinnamon

#13artsblackwaterink

#13artswhitemicrospheres

#13artsrosaliechipboard

#13artsrosalieephemera

#13artsrosaliepapercollection

#13artswhitepaint

#13artswhitegesso

#13artsecrusisal

#slimlinecards

#DLsizecards

#handmadecards

#13artsgelmedium

#13artsmultipurposegelmedium


Monday, October 11, 2021

Live and Be Free Canvas ~ Creative Embellishments

Hello, creative friends! 

Sandi Clarkson here with you today sharing a canvas board that I created for Creative Embellishments! 
I always love getting my "crackle" on and then pairing it with my CE chipboard, stamps and flair. 


This is an 8x10 canvas board that I created with my modeling paste and powder mixture to make a crackle effect.  Then when that was good and dry, I came back with my colors. In this case I've used a mixture of Lolite and Amethyst Color Glow from @13 Arts. 

I had a floral photo that I thought would pair nicely with this color scheme and planned out my design by digging through some likely chipboard pieces. 


I've really been itching to use the newer Scribbles pieces. And wow, did it ever ramp them up to alter them with Blue Sapphire Color Glow. They went from raw and edgy to "glam" with just a single coating. 

I've also tucked in about 3 stems from the Mini Berry Set. These were altered with 13 Arts Emerald Color Glow and have a custom wax applied to them. So dainty and cute. 


My dragonflies are from Dragonflies Set of 5 and have some ivory paint dabbed on their wings while their bodies have walnut stain. 


Of course my canvas would not be complete without lime green roots and some Wild Honey oxide paint splatters! You'll also note a bit of stamping. 


This big guy is here to balance the remainder of the design and is tucked slightly under one of the large  Scribble pieces. 


One of my favorite Flair button sets is the Seasons Change set. It has a variety of colors and is indeed applicable for any season or color range. 

Here you can also see the highlights and lowlights that I created on my background texture using custom wax created with 13 Arts Color Glows and decoupage wax. 


To bring even more depth to my background, I've done some random stamping with the Circle Bokeh Stamp and black acrylic ink. 

Lots of florals and roots tucked here and there leaving places to add in your chipboard pieces. 


I only used one of the birdhouses from the Birdhouses set and it was altered the same as the dragonflies with ivory paint and brown ink. They are a perfect element for any design such as this. 


One additional benefit of doing a canvas such as this is that you can use up some of your older florals as they are mostly covered up anyway. They bring beauty without being the focal point such as the statement florals you sometimes add on top. 


I'm so in love with all the Scribble elements! 
You will have to check them out! 

That's all for today. 
I hope you feel inspired to create! 
Don't forget about our monthly challenge. 

Thanks for dropping by! 
Sandi


Creative Embellishments products used: 
Chipboard:
Stamp:
Flair button:


Saturday, October 2, 2021

October Challenge with Creative Embellishments

Well, Hello October! 

Nice to see you, ole friend! 

Today I'm sharing my DT take on the Creative Embellishments October Challenge. 


This month we have a fun mood board for all you Halloween lovers. Time to get your "creep" on! 

After a failed attempt at a "spooky" canvas, I turned to what I knew I could master .. flowers and pretty paper. So, I opted for a Halloween card

I really wanted to use the Wicked Pocket Card, so I inked it up and laid it on a bed of purple flowers and fun Halloween papers from Graphic 45. And it looks better on this card than on that spooky canvas. 

 To carry the theme a little farther, I finally got around to using these adorable witches legs from the Witch Set and layered them under the wood veneer pocket card. They were painted with 13 Arts watercolors and some gold metallic wax. 

Oh, the twist this month is to used your stash and believe me, I've used plenty of very old florals and papers from wayyyyy back when .... 

So cute and ready for sending! 

Here are some close-ups: 


And here is this month's Challenge image: 


Now, it's your turn! What will you create this month? 

Thanks for stopping by! 
Sandi


Creative Embellishments products used: 

Friday, October 1, 2021

Gorgeous October Challenge at 13 Arts!

Hello, crafty friends! 

Today I am sharing my take on the October Mood Board over at 13 Arts Instagram account. 

It is so gorgeous and I was excited to get started with it! 

I've used an old sketch that I believe was designed by Laura Whitaker for My Creative Scrapbook. Anyway, I've used a mix of new and older collections to come up with this pretty layout! 

The green patterned paper is from the new Carmen collection and the gold papers including the butterfly paper are from the new Back in Time. Additionally, I did some fussy cutting from Travel the World for my floral elements. The stenciling was done with the Starry Night stencil from the new Aurora collection. 

All the chippys are a mix from the new collections and were altered with Goldstone Color Glow. 

Here are some close-ups for you: 


Home sticker is from the new Home Sweet Home collection. 


I've used some green mica flakes along with gold microspheres. 
Pearls are from my stash. 


Didn't that butterfly turn out awesome?! 


Loving the new swirl chippys as well from the Aurora collection. 


I'm so pleased how this turned out! 

I hope that you can play along! 
Here is the Challenge image: 


See you next time! 
Sandi