Wednesday, December 29, 2021

Home Decor Star featuring 13 Arts Christmas Stories

Hello, 13 Arts fans! 

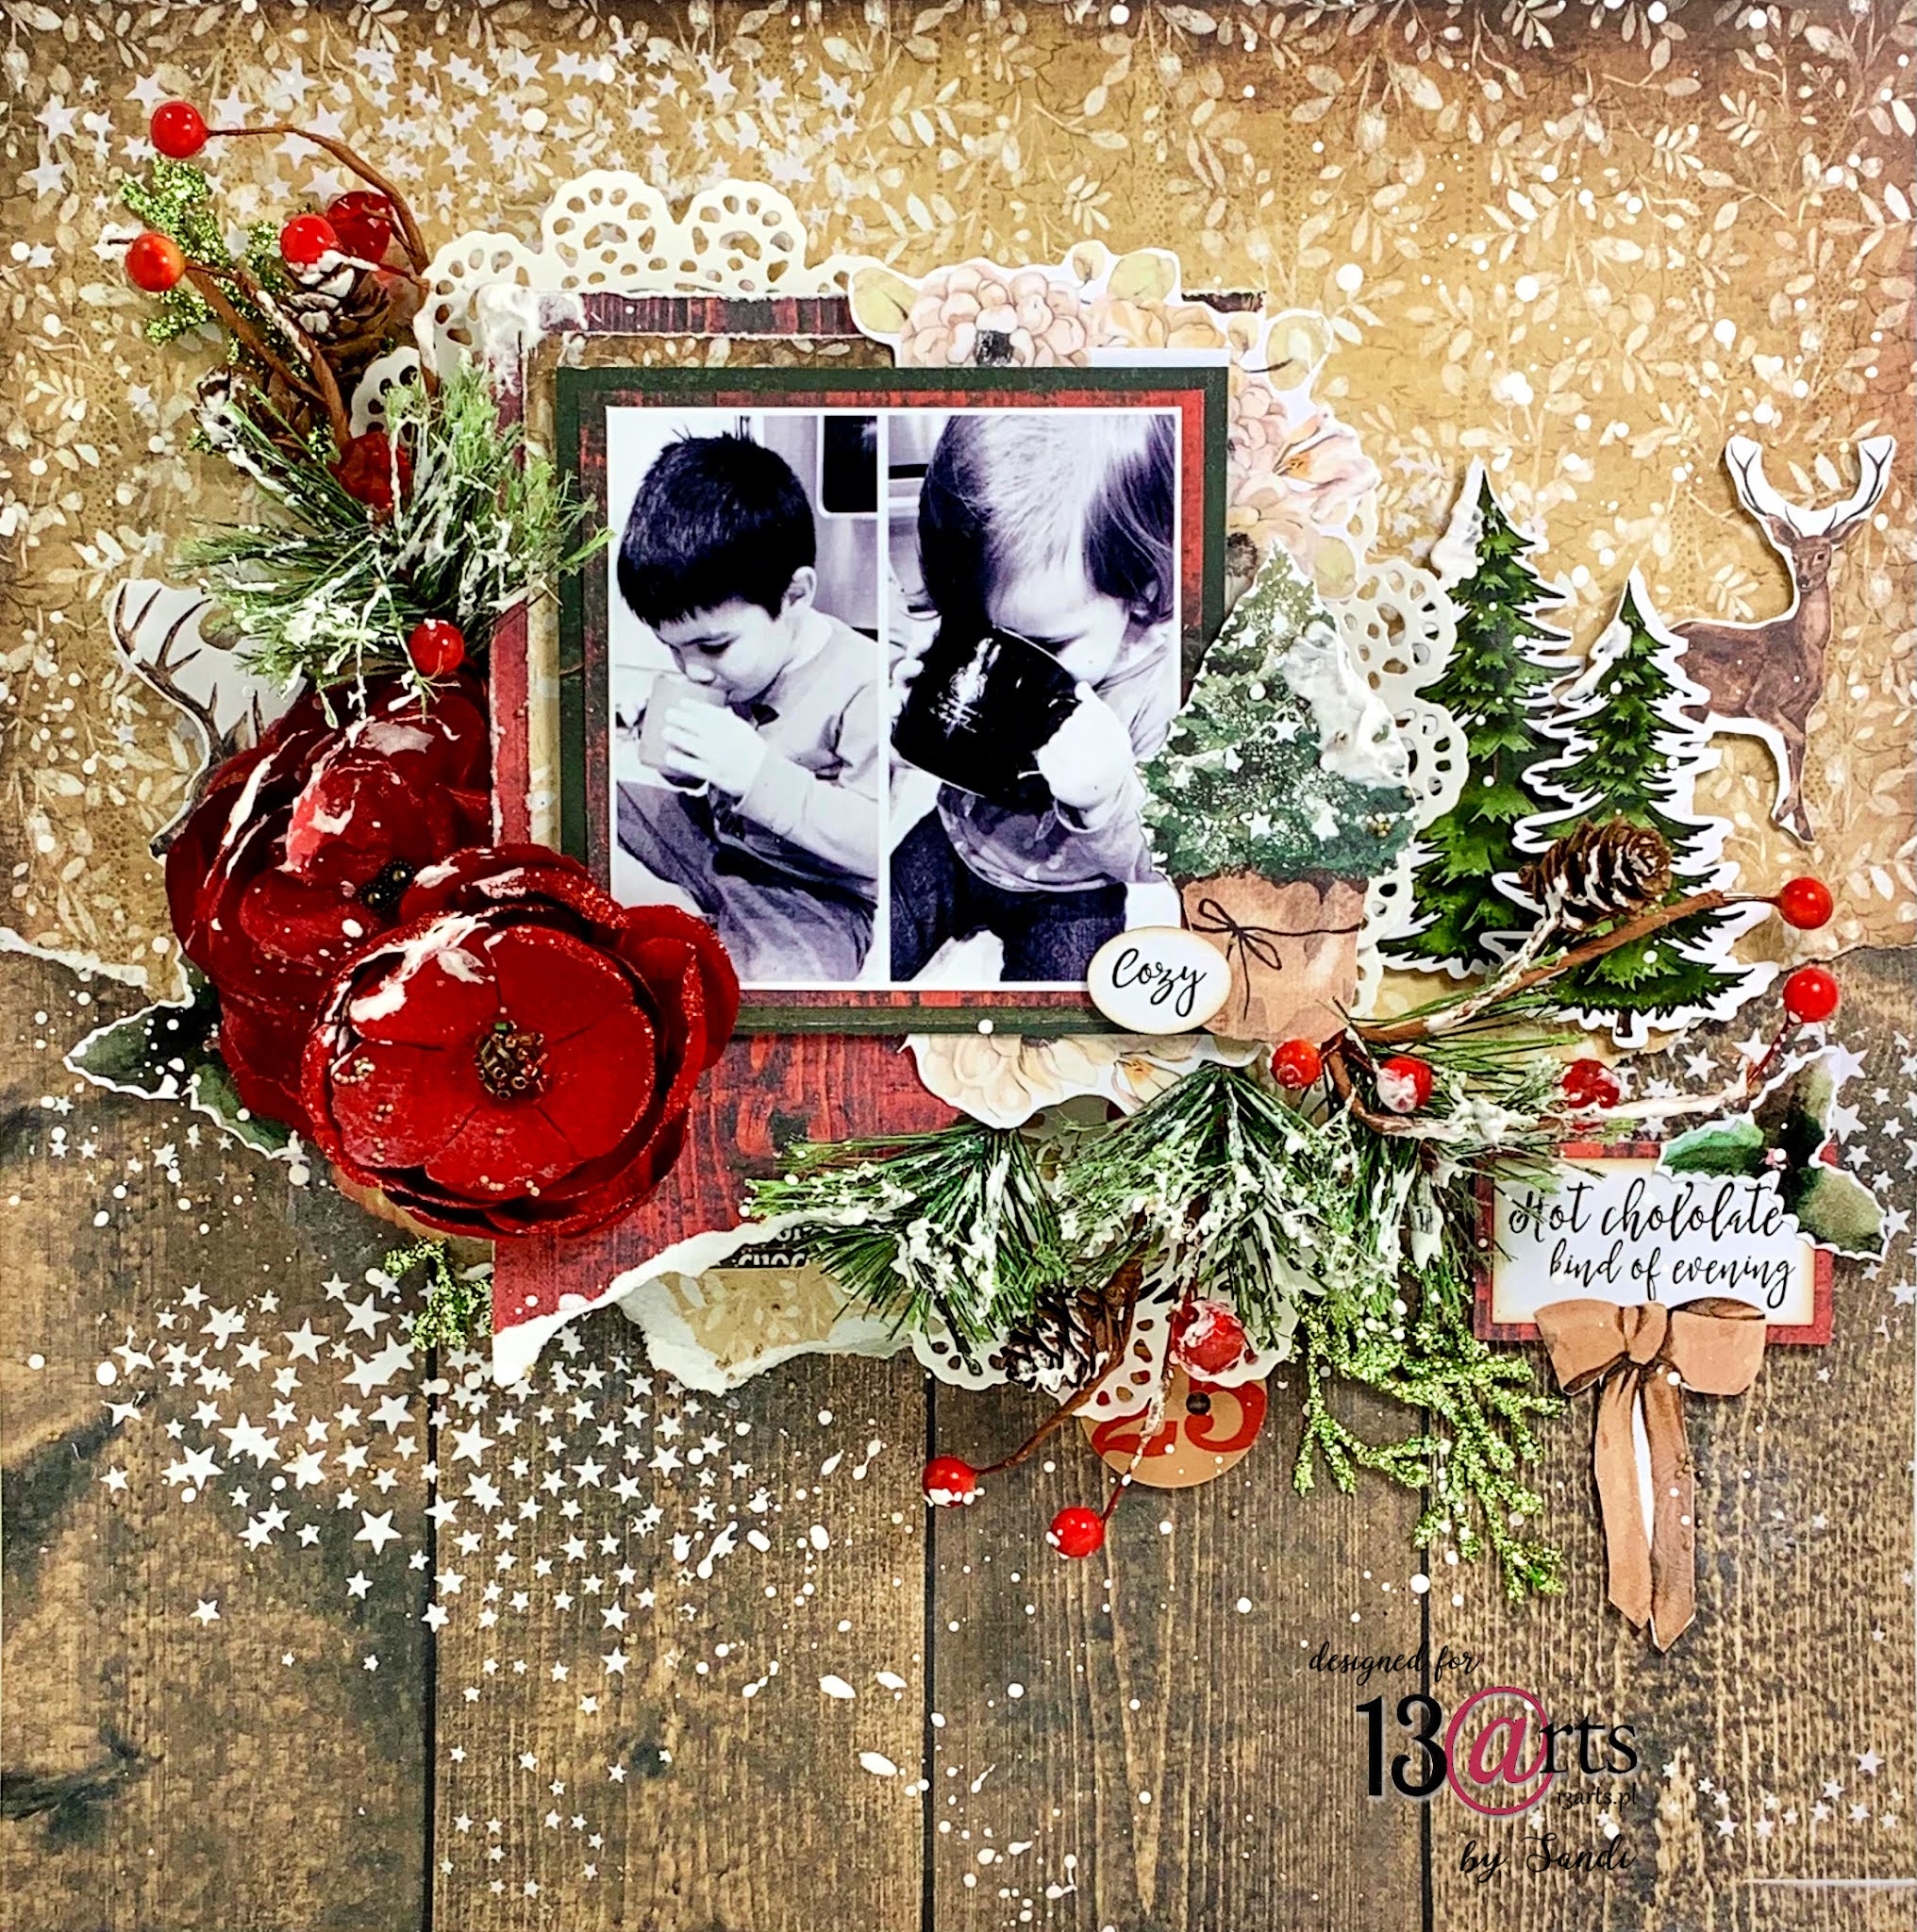
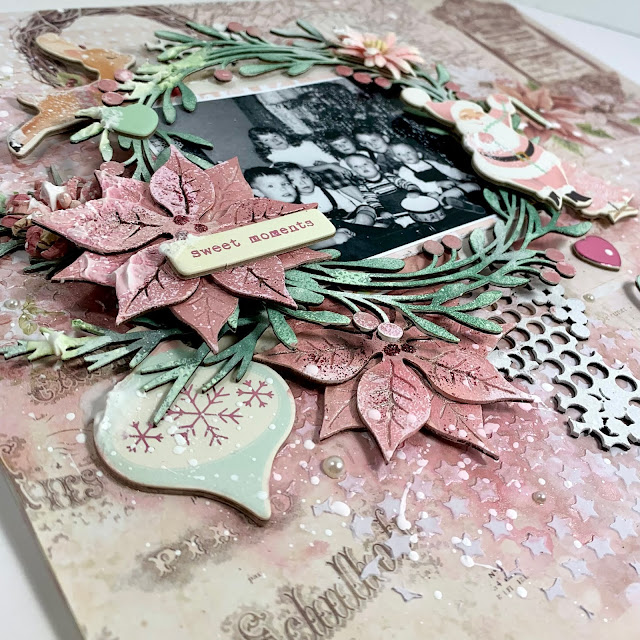
Sandi here with you today sharing a Home Decor Star from Creative Embellishments that I altered with my 13 Arts Christmas Stories papers along with a few other items. 


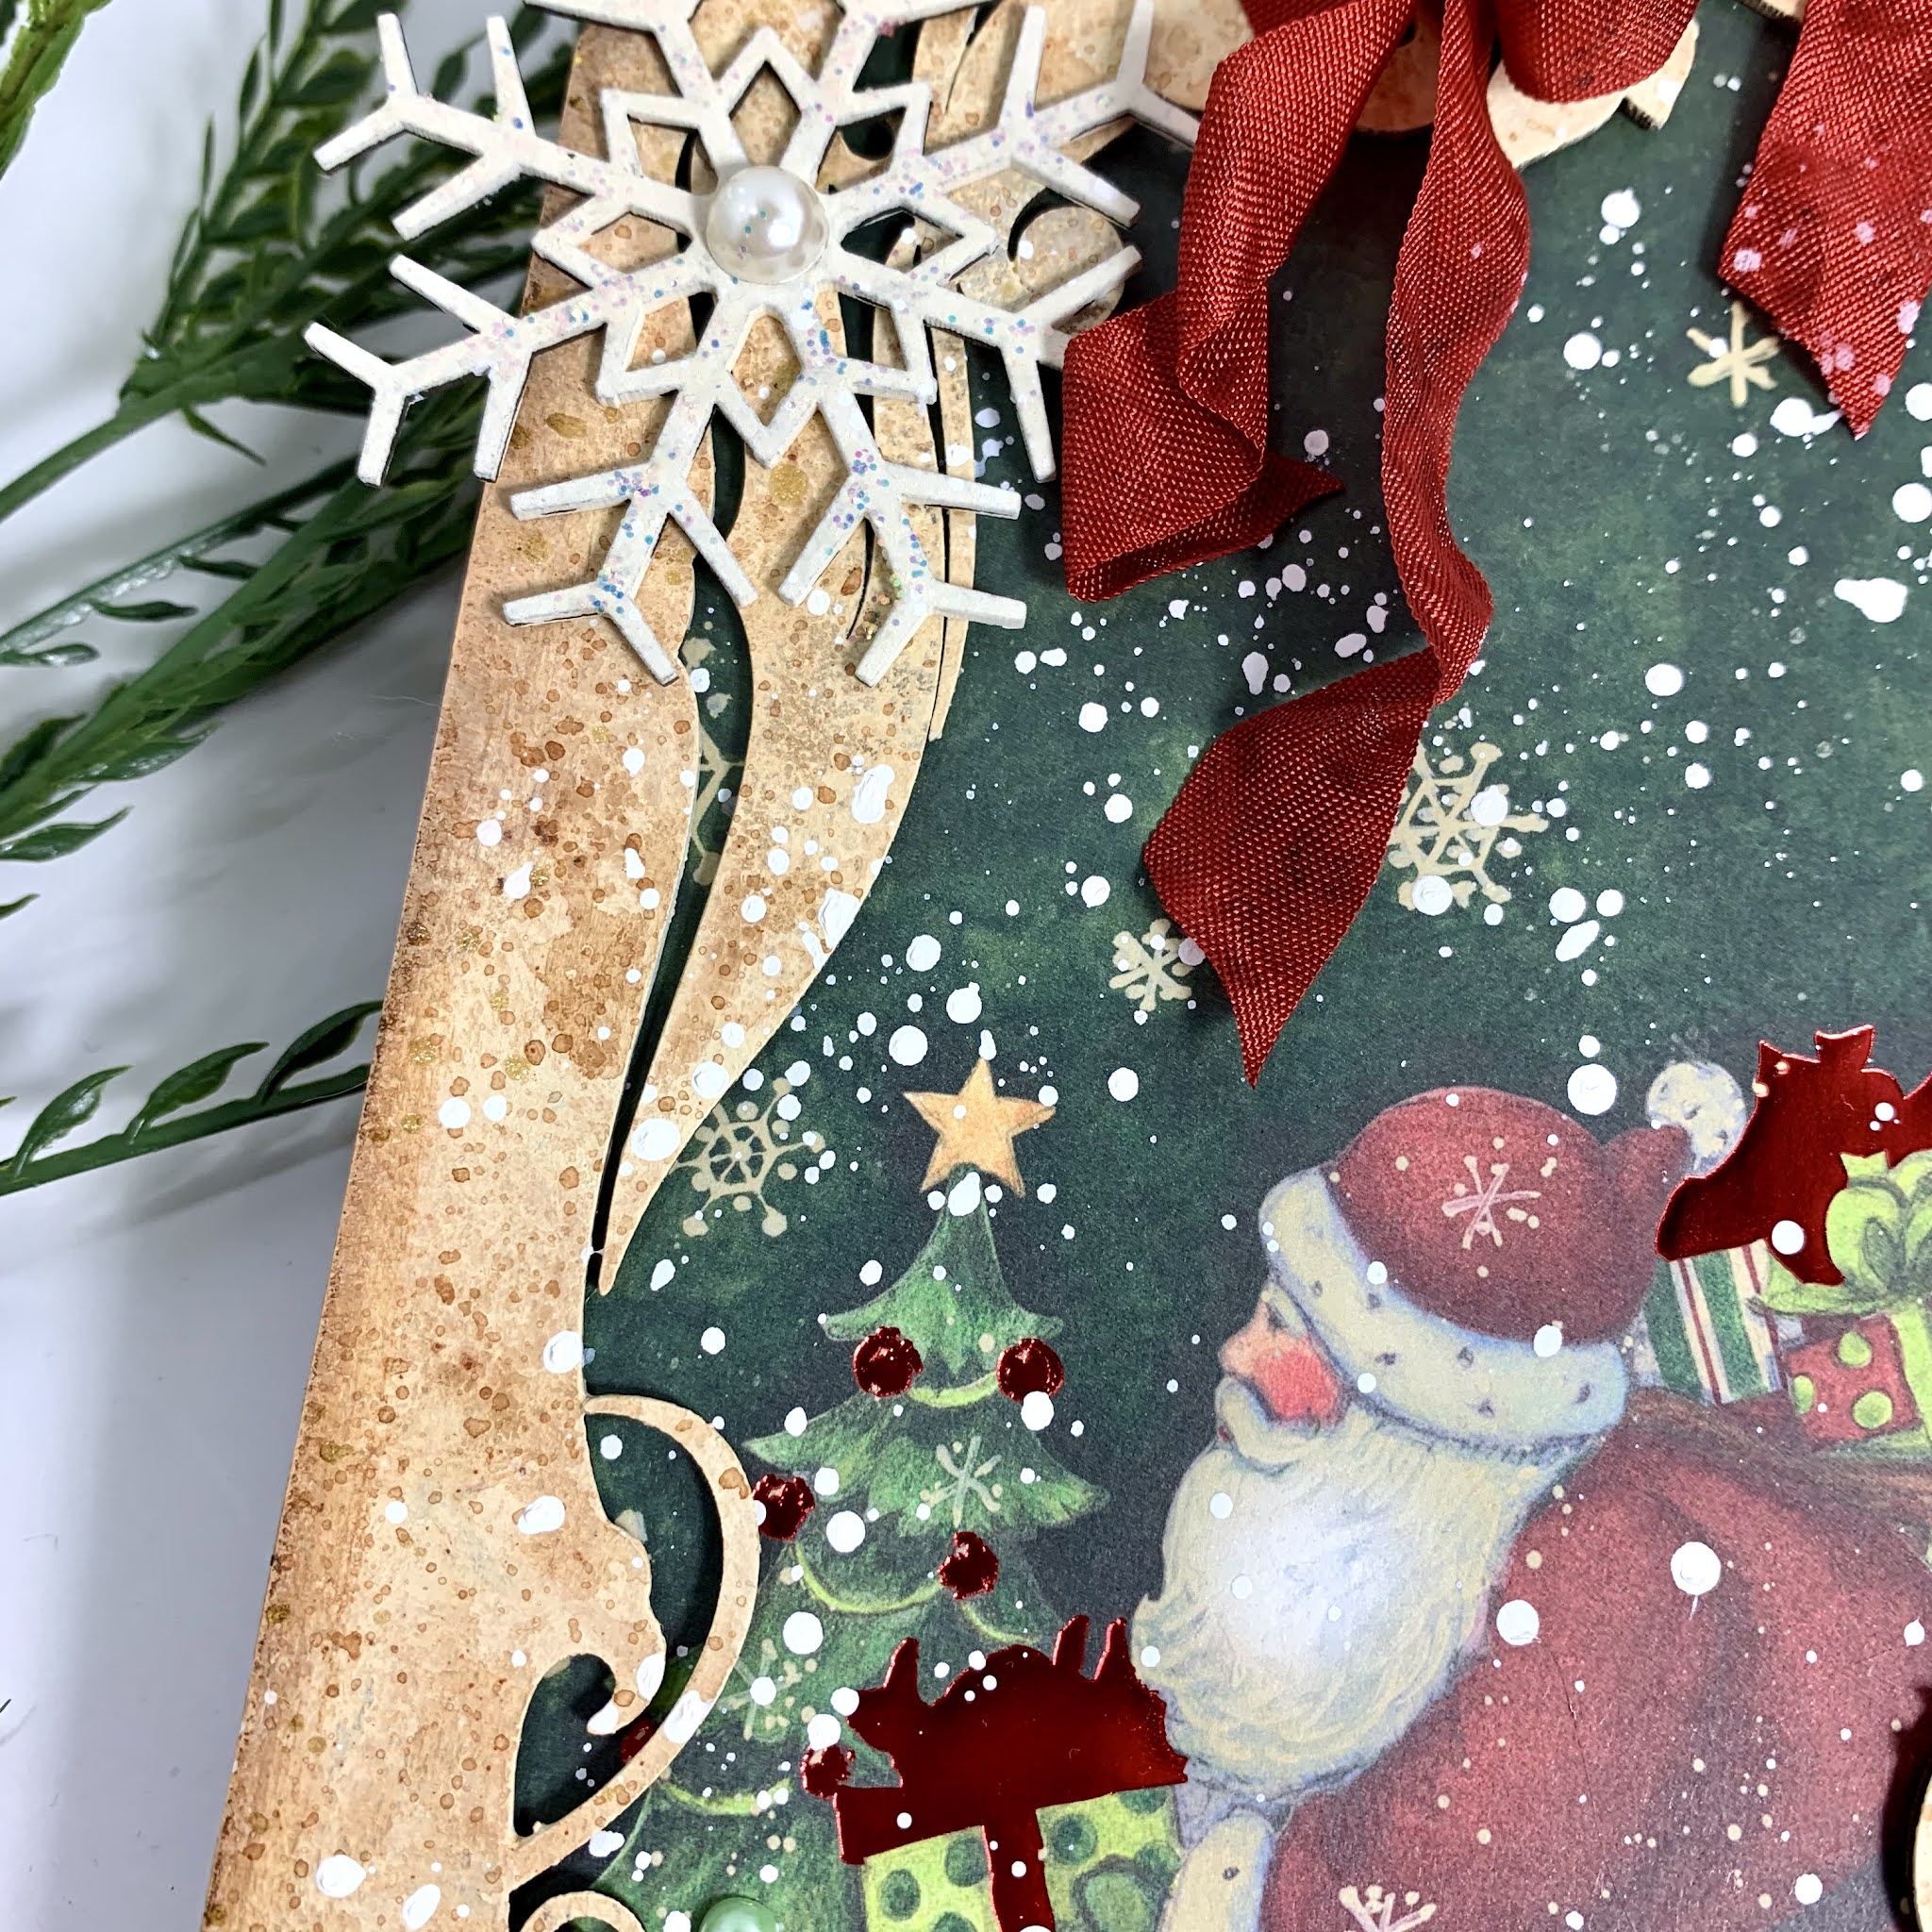
The first thing I did was to trace and cut out the star on my gorgeous Christmas Stories paper and then adhered it to my birch wood piece. 

When that was good and dry, I covered the paper with 13 Arts clear gesso. 


I've used the Circle of Stars Stencil and modeling paste to provide some texture. Then for a colorant, I've applied some of the Coral watercolor from the 16 pan Watercolor Set. 

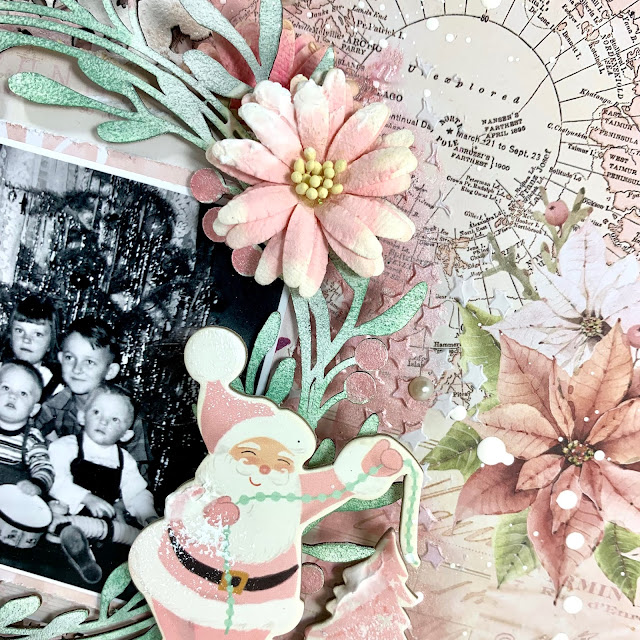
My sweet photo is of the granddaughters during a rare winter storm earlier this year, 


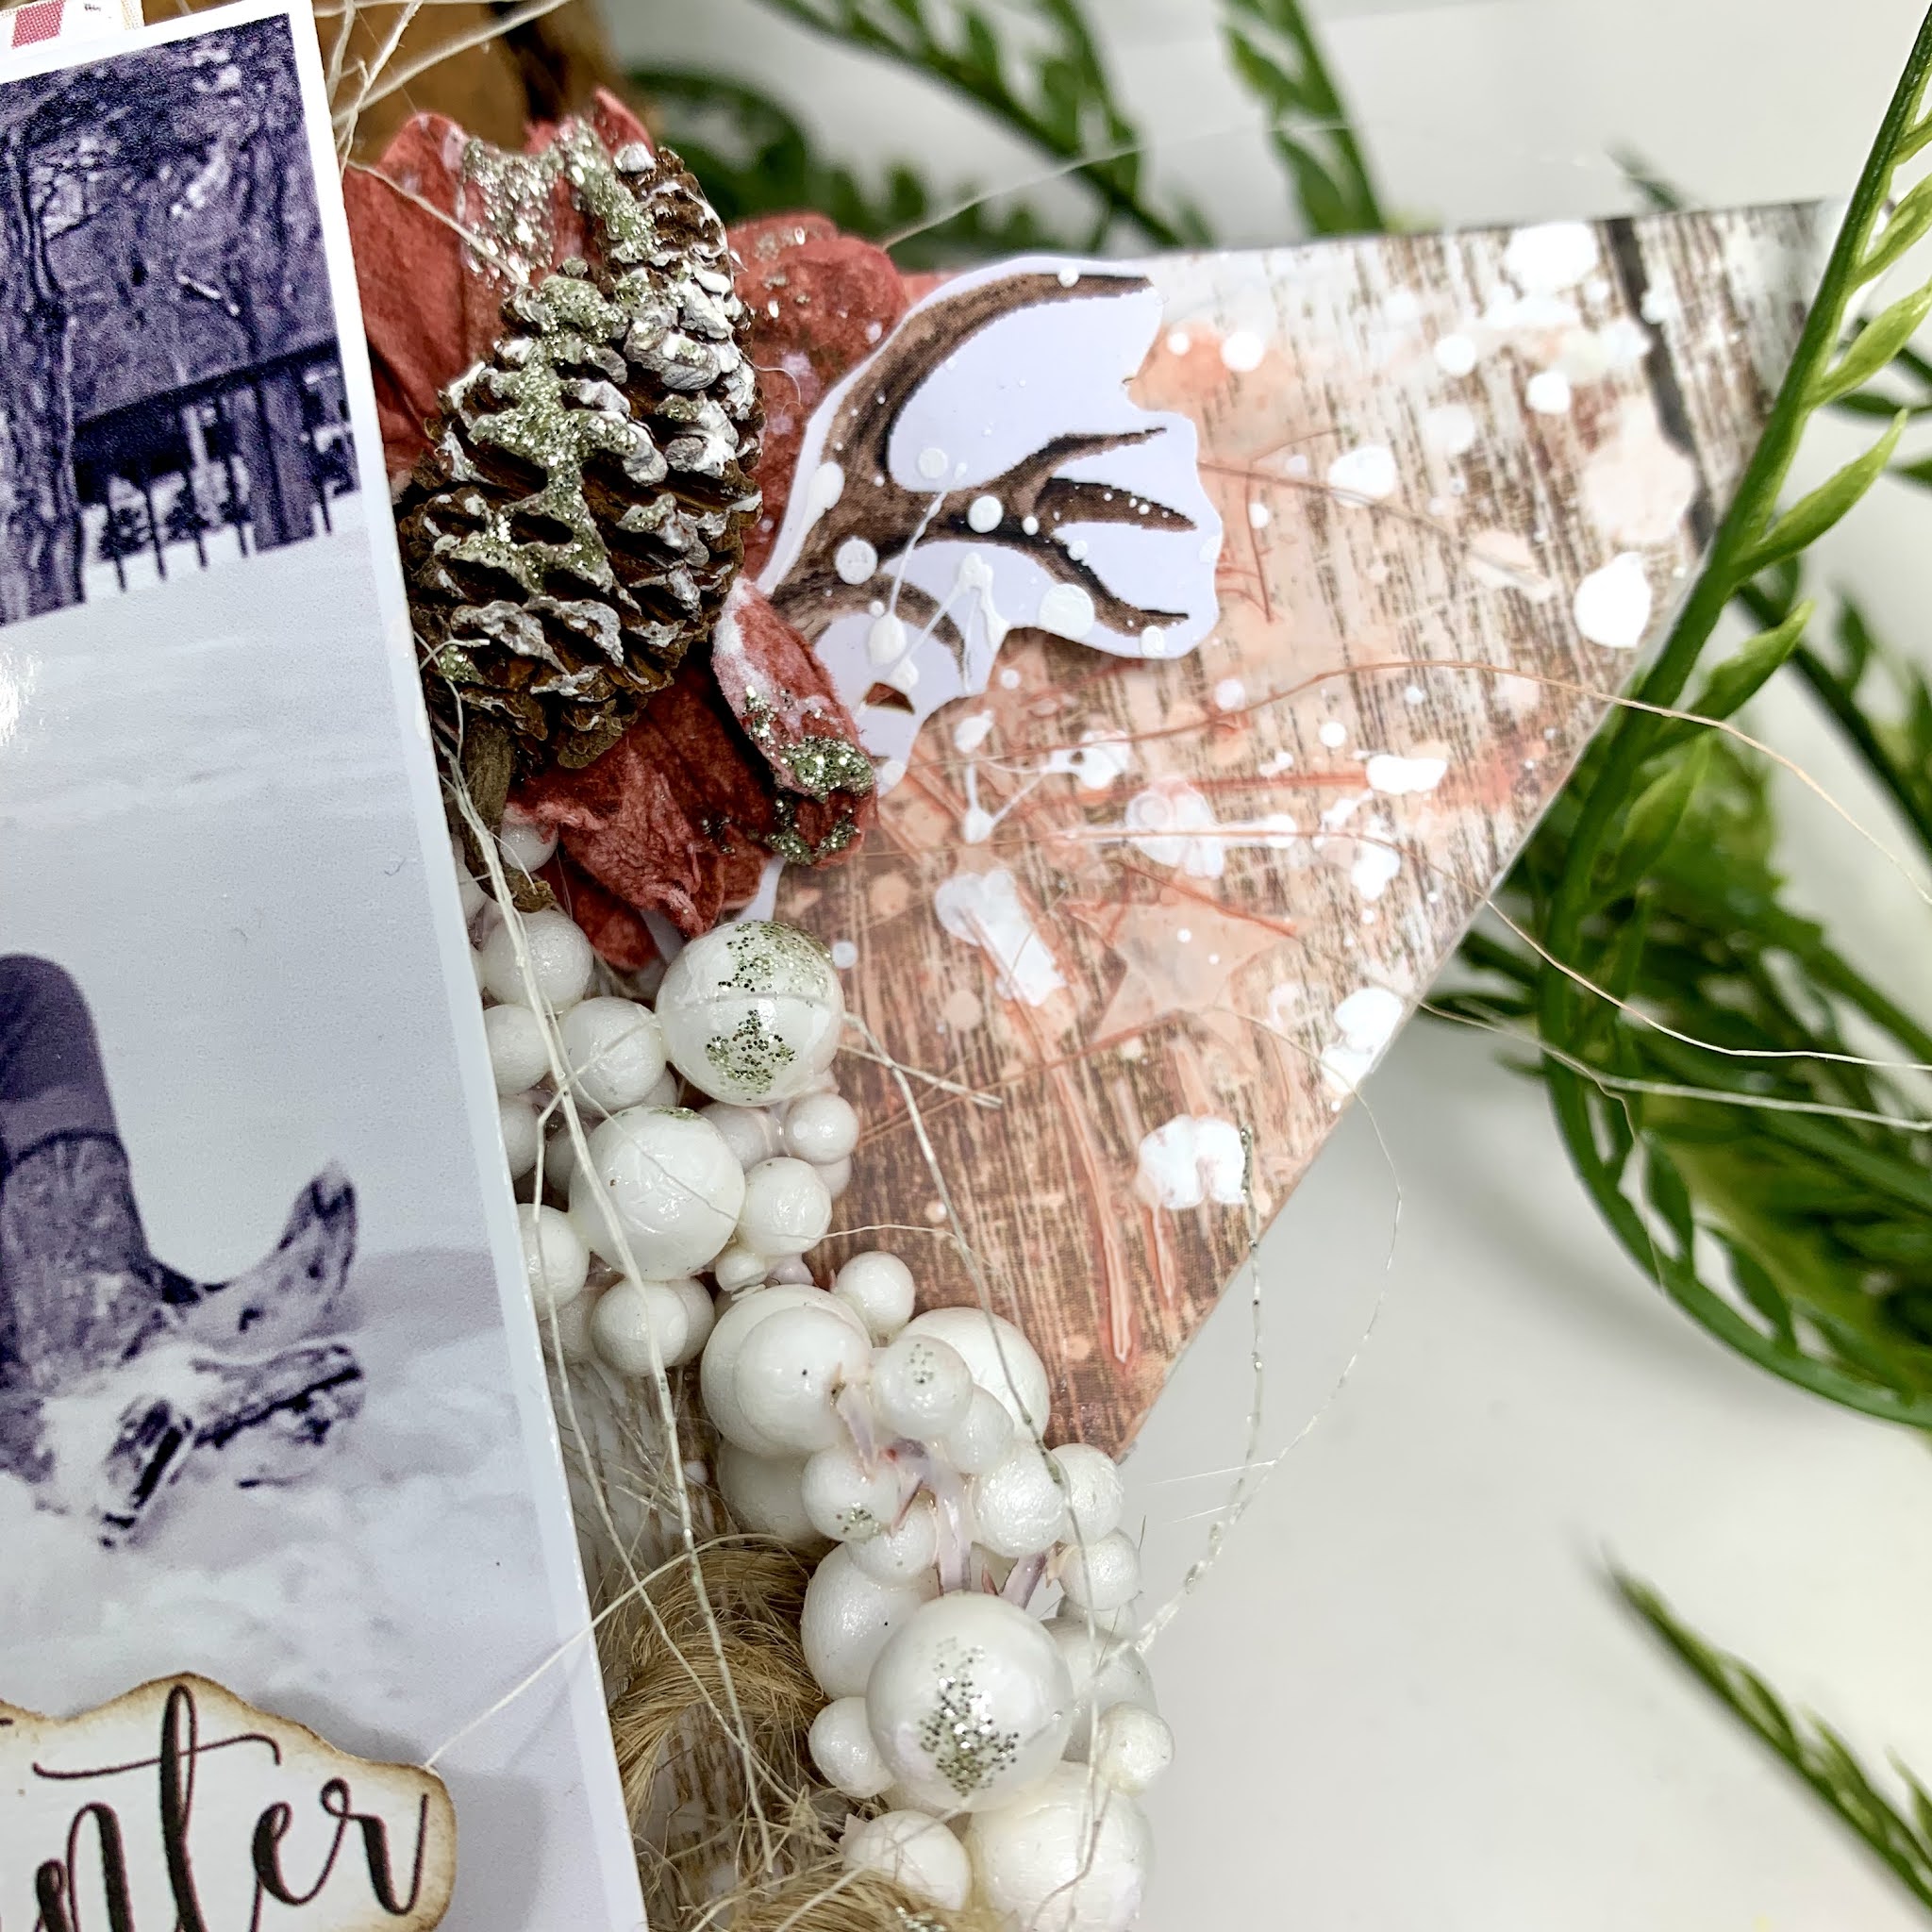
I also fussy cut a few embellishments from the paper collection as well as from the older Dreamland collection. 

To provide height under the photo I used corrugated cardboard to make room for adding my florals from 49 and Market. These are the Cranberry Rustic Bouquet. The white ball twigs and the pine cones are from the 13 Arts Store. 


I alos added in some pearl adornments from the now defunct Petaloo. My Petaloo stash is getting really low. 

To add shimmer, I've applied Old Silver Glitter Ink form 13 Arts. 


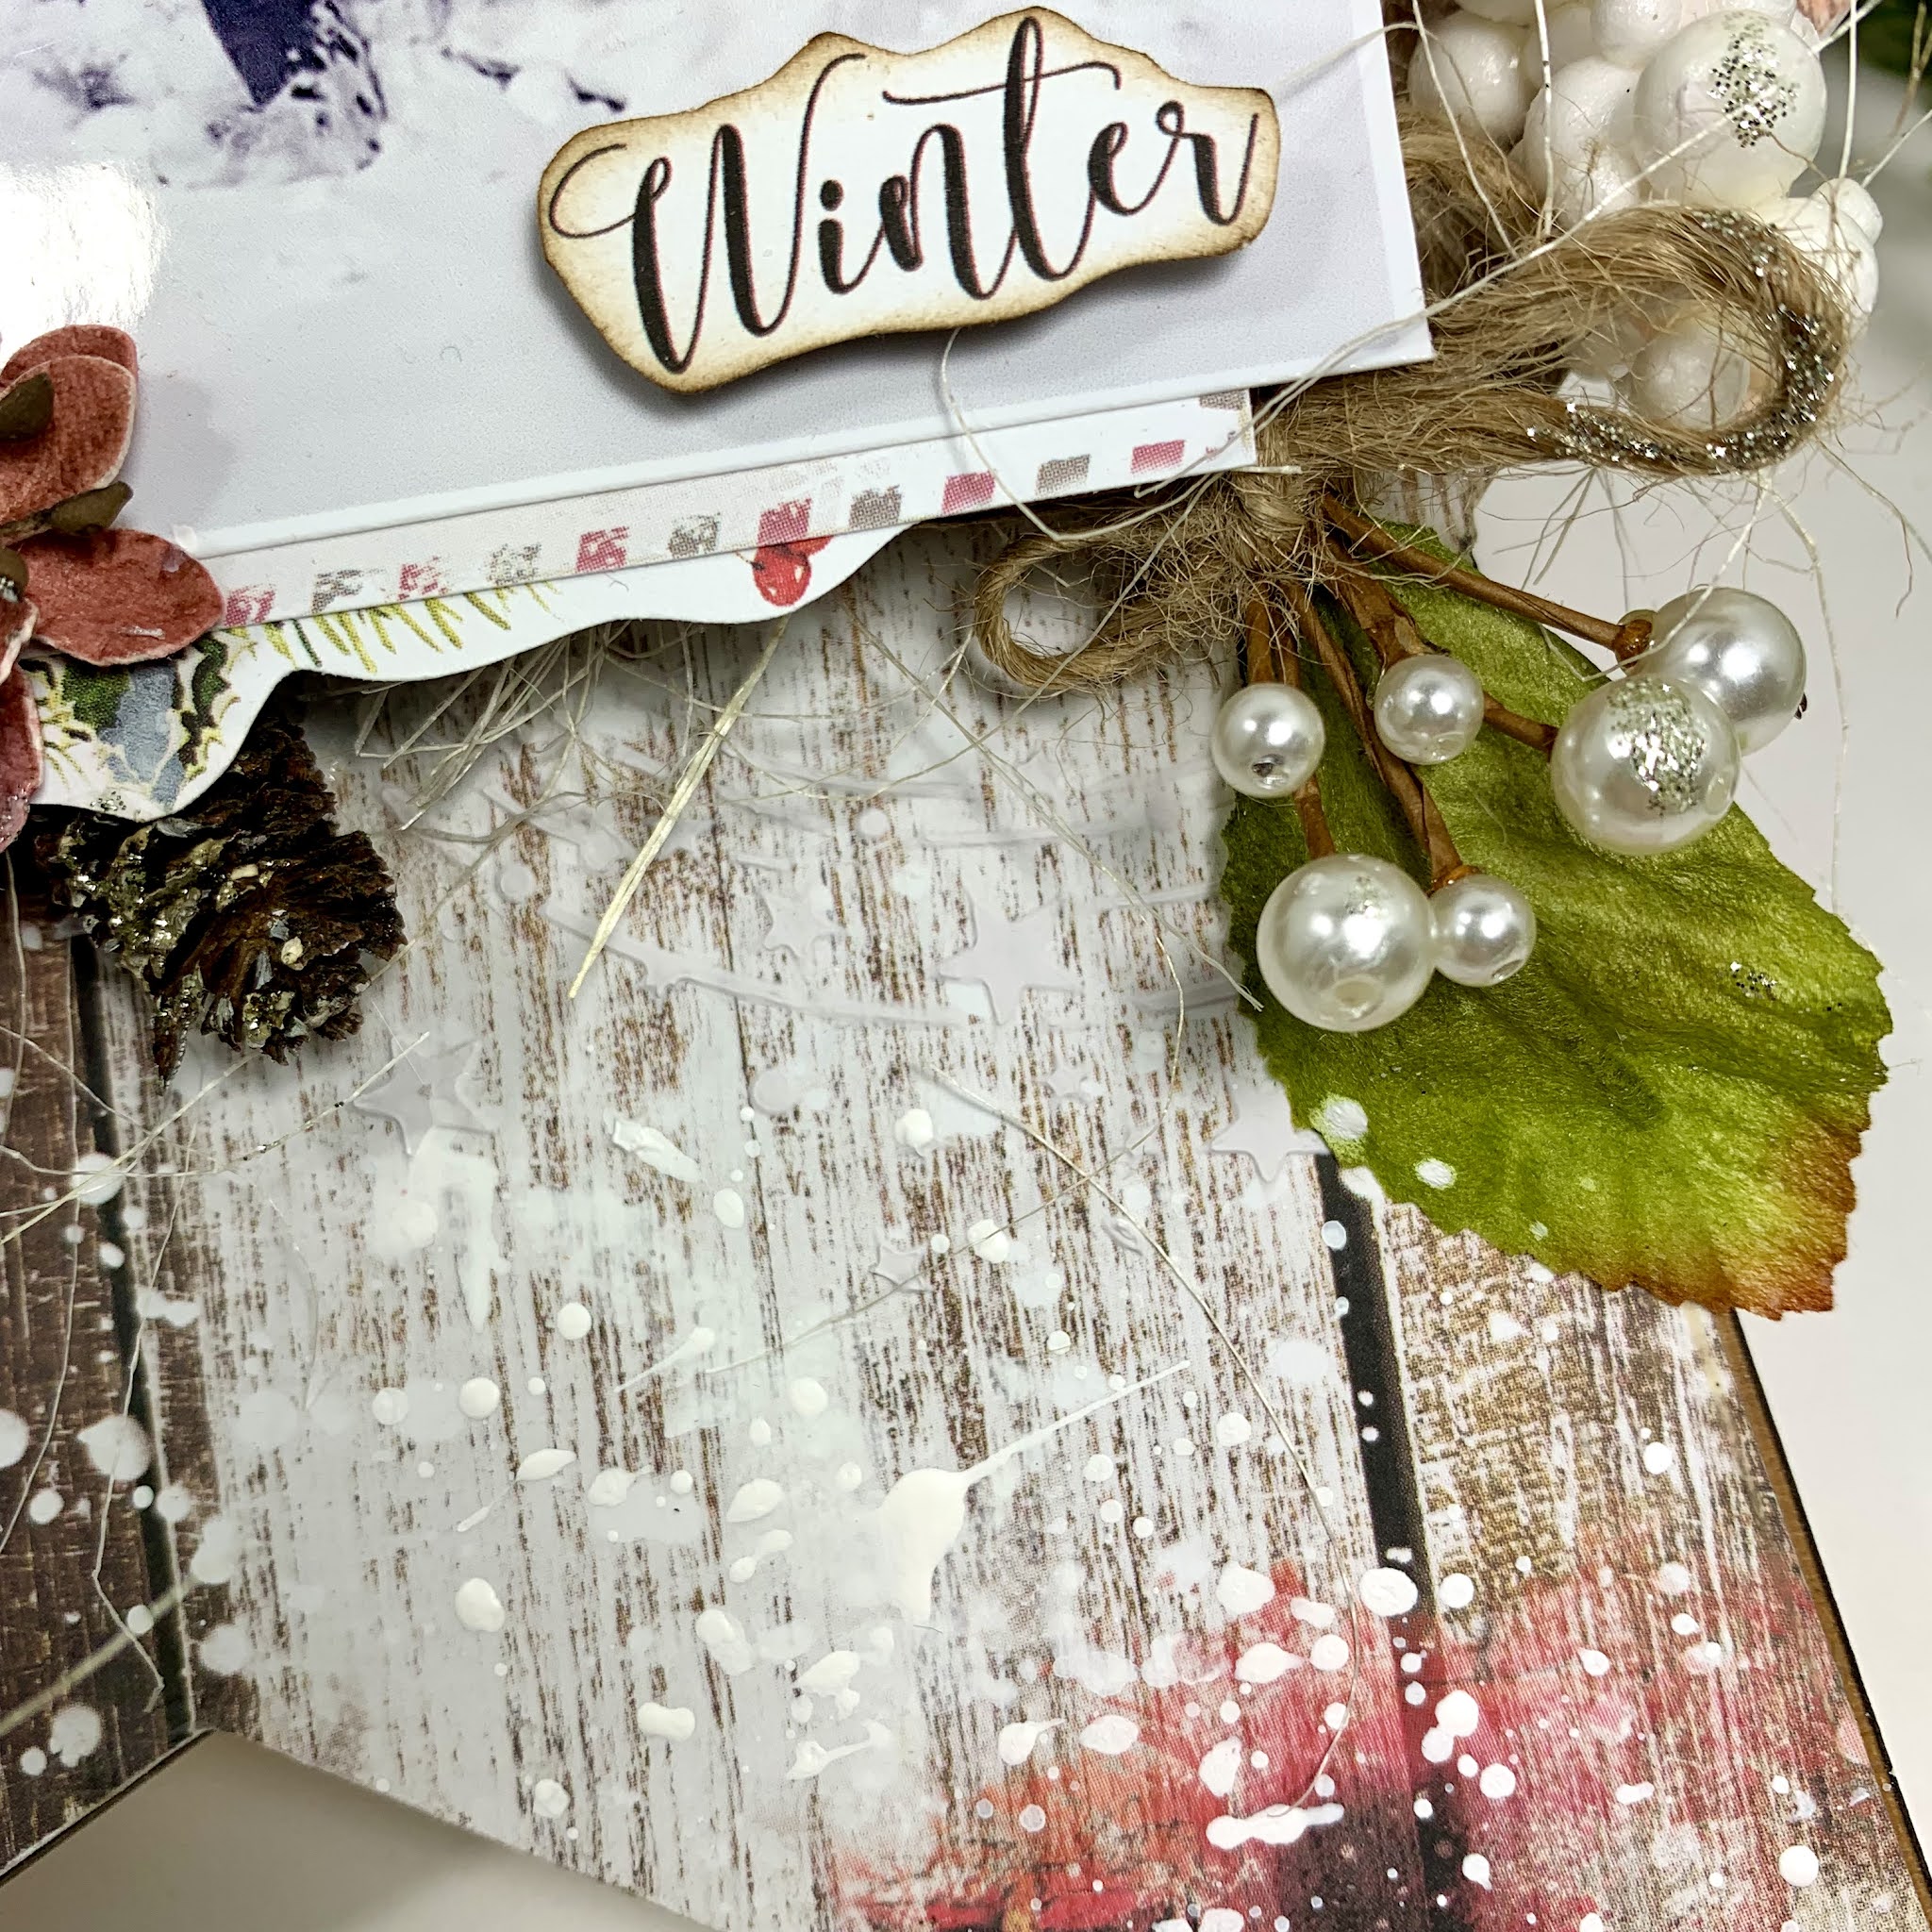
For a sentiment, I used one of my fussy cut elements. 


Looks like they are having fun, huh? 
Yes, for this part of Texas we get very little snow, so the kids soak it up! 


I just kept adding until I was out of room, haha! 

Thanks for coming by today! 
I always appreciate anyone reading the blog. 

2022 is around the corner! 
Happy New Year! 

Sandi

Thursday, December 23, 2021

Quick and Easy Christmas Cards with Sandi Clarkson

Hello, Creative Embellishments fans! 

Sandi Clarkson here with you today sharing a couple of quick and easy Christmas Cards for your last minute gift giving or card exchange! 


This set turned out really cute in a minimum of time, at least for me! 
Both cards used blank white card bases in a 5 x 6.5 inch size. Next, I cut the plaid patterned paper a quarter inch smaller  all the way around. Paper is from Graphic 45 Twelve Days of Christmas. Then I used cream card stock from that same paper pack, trimmed it with a height of 4 inches. This served as a nice, light background to allow the chipboard to really pop. 


I am in love with the new Scribble Tree and Mistletoe set, especially the mistletoe. 
I thought the mistletoe could actually be used all year around as a floral layer somewhat like flourishes. I've used 2 packages so that I would have 2 bunches of mistletoe. I opted to place them right next to each other and let them mimic a mistletoe ball. 

These were altered with a mix in Ranger ink and oxide in Rustic Wilderness, Peeled Paint and Twisted Citron. The sentiment from the Christmas Sentiments set was altered the same. 


Here is a close-up for you. 
I added some red Stickles to make these more festive and then added a red ribbon ribbon. 
Apparently, I need to shop for more red ribbon as my stash is getting low. :) 


And here is that sweet sentiment mentioned above. 


I decided to make a second card since I was kind of on a roll. I just duplicated my design but changed out the focal chipboard to the Pine Cone Clusters. I've used 2 sets even though the set contains 3 branches because I wanted an exact match so that I could balance the image better. 


Again, I used the same colors but added a bit more Twisted Citron to these chipboard pieces. 
The cones were stained with Walnut and when dry, I applied some Cinammon Stickles to them. 

For a little pizzazz I added a few copper rhinestones here and there. 


And a close-up of the sentiment stained with Walnut. 

I think that's about it! 
Let me know if you have any questions. 

You can visit the CE store HERE.

Thanks for coming by and see you next time! 

Let me take this opportunity to wish you a very Merry Christmas! 

Sandi


Creative Embellishments products used: 


Tuesday, December 14, 2021

Parade of Lights ~ Christmas Layout for 13 Arts Design Team

Hello, creative friends! 
Thanks for dropping by today. 

I have a fun new layout to share for the 13 Arts Design Team using our new Christmas Stories collection. 


Today I've scrapped a photo taken by photographer Brian Luenser of Fort Worth, Texas. He graciously gave me consent to scrap it! The photo was taken November 21, 2021 during the annual Parade of Lights. I was especially taken with this particular photo because the white and red Rescue vehicle just screams Christmas colors to me. 

 My papers are from the new Christmas Stories collection which you can find HERE (13 Arts) or HERE for you USA crafters (Bluemoon Scrapbooking.)

After priming with Clear Gesso, I did some stenciling with modeling paste and the Piano Forte Stencil which is from the Back in Time collection. I also did some random stamping with Ranger Archival Ink in Brown Espresso and the Back in Time postal stamp. Love, love that one! 


The chipboard tree was from the older Dreamland collection and worked nicely here. I inked it up with Brown espresso to make it consistent with the trees on the patterned paper. 

My florals are old, old Petaloo and the greenery is from a garland I bought last year and never used. Perfect for crafting although a bit bulky. 

My photo was matted twice, the charcoal layer being paper from the Victoriana collection. The striped is from the Christmas collection. It's so gorgeous! 


The "magical" chipboard was left unaltered and came from the Dreamland collection as well. 


I love using postal twine on Christmas papers as it invokes that vintage vibe. 

Here you can also visualize the stencil work as well as some of the white gesso splattering done at the conclusion of the project. 


That postal stamp image goes perfectly with these papers, I think. 


I cut this black tag from the paper collection and think that it really helped ground the page by include the darker colors from amongst the images at the bottom of the patterned paper. 


I had just received my Creative Embellishments package fort his month and had ordered some of the acrylic snowflakes in frosted white. So, I tucked a few of them here and there. 


And a final photo taken of the upper right of the focal area. 

As I am working with somewhat limited supplies, I am quite happy with how this turned out! 

Thanks again for coming by! 
We are only 11 days from Christmas! 
What a fast year 2021 has been. 

Sandi


Monday, December 13, 2021

Ho Ho Ho ~ Flourish Tag Set

Ho, Ho, Ho and Merry Christmas, CE fans! 

Sandi here with you today sharing one of the new Flourish Tag Sets. 

There are 3 different styles as of this writing and I've used Flourish Tag set 3


These are designed with the idea of sandwiching something  (like an image for example) in between the 2 pieces of chipboard .. or any other way your imagination takes you. 

Here is what these 2 pieces look like as a set. You can flip them or use them either direction but it's better to flip both pieces the same way for better alignment. 


For my sweet project, I opted to use an image from some old, old stash featuring a sweet photo of Santa placing gifts under a tree. The design is by Susan Winget for KC and Company. Hehe, told you they were old! 

Anyway, I sandwiched the paper between the 2 tags by adhering it to the solid tag and trimming the paper to fit. Next I altered the front tag and adhered it to the already papered tag.

For alteration, I primed with clear gesso, then dabbed antique white paint mixed with Ranger's Tea Stain for a nice dark creamy finish. Then I splattered Tea Stain over the front tag as well as metallic gold paint. When that was good and dry, it was adhered as mentioned above and then distressed on the edges with Vintage Photo ink. 


Next I altered the snowflakes with an Ivory craft paint and adhered them when they dried. As an afterthought, I brushed a bit of Icicle Stickles to them and placed a white pearl on a couple of them.

My HoHoHo Title was altered the same way. 

A few more close-ups before we finish:


Love all the various Snowflakes in the CE store! 


These Flourish Tag Sets are so intricate and add a romantic flair. 


And Ho Ho Ho for the win! 

As a finishing touch, I added red crinkle ribbon and then splattered white acrylic paint all over for a snowy effect. 

Kind of a simple project but with BIG results! 

 I think it will make a nice Christmas tag or even a nice Home Decor piece. 


Thanks so much for coming by today! 

See you next time! 

Sandi


Creative Embellishments products used: 

Flourish Tag set 3

Christmas Sentiments

Large Snowflake Set

Chipboard Snowflakes


Thursday, December 2, 2021

13 Arts December Challenge!

 Hello, creative friends! 

Today I'm sharing my Design Team entry for the 13 Arts December Challenge. 
This month's mood board is truly a gorgeous one! I am a huge fan of traditional Christmas colors but what I like about the mood board is the addition of the tans and brown. 


Since I have not yet received the new Christmas Stories collection from 13 Arts, I grabbed some colors from my 13 Arts stash. The red and the brown wood grain papers are from Victoriana and the light floral beige is from the very old Vintage Summer. 

Die Cut Embellishments are from Dreamland, Travel the World, and Home Sweet Home. 

My stencil work was done with the Starry Sky stencil from Aurora. 
So lots of collections to achieve this piece! 
And that's the fun of it! 


I did use a couple of die cut doilies cut from plain white cardstock. 
My greenery is borrowed from an old garland I bought for scrappy work. 


Here you can see the stencil work as well as some of the gesso splatter done at the end. 


I thought this little subtitle from Home Sweet Home was just perfect for this cute photo of the grandkids drinking hot chocolate! 

The sparkly greenery is from the 13 Arts adornments found in the online Store. 


I never expected to use the pine tree ephemera from Travel the World on a Christmas layout but I sure did! They are universal. Well, except for the beach maybe. 


I added the Cozy as a title/subtitle. 


I thought I'd share a view from the side to show you the dimension. 
My photo is actually mounted on 5 pieces of corrugated cardboard. 
The red florals are old, old Prima Flowers. 


And again from the other side. 

I hope you are inspired to create something this month and play along with us on Instagram using the #13ArtsDec21 hashtag. 

Here is that mood board: 


See you soon! 
Sandi


Wednesday, December 1, 2021

Creative Embellishments December Challenge is Live!

I can't believe that I am saying "Welcome to December" but nonetheless, I sure am! 


This month's Creative Embellishments Challenge features a gorgeous inspiration photo featuring lots of pink amongst a welcoming Christmas tree scene. 

So, I chose a vintage Christmas photo of some of my cousins and I many years ago. Maybe it was the memories but I sure enjoyed doing this one! 

For the bling twist, I've used some Stickles on the centers of my poinsettias. My chipboard pieces were altered with white paint and Distress Oxides. These oxides gave a creamy, almost chalk-like quality to the pieces. To enhance the focal areas, I've used 13 Arts Rose Quartz Color Glow. 

Papers and extra chipboard elements are Prima Marketing older Santa Baby collection. 

And here are some close-ups for you to enjoy! 


Thanks so much for coming by the blog today! 

See you next time! 

Sandi

Here are the CE products used on my layout: