Friday, August 26, 2022

Throwback Friday with Creative Embellishments

Hello, fellow scrappers!
Sandi here with you today sharing a favorite project from several years ago ...

I've had this heart-shaped watercolor canvas by Crate Paper for over a year and had not found quite the right use for it .. until the other day.  This cute photo of the grand boys screamed for something unique.


The first step was applying the color to the background which I did with a limited rainbow design. I started on the right with Glorius Day Vibez then added in Palm Reader Vibez and lastly Well Blue Me Down Coloringz.


After that, I added texture using the Creative Embellishments Circle Bokeh Stencil and super heavy gesso. When that was dry, I re-applied the paints as needed as well as splattered droplets creating interest. For depth I used the Distressed Crackle Stamp around the edges of the heart.


Next I began altering my chipboard pieces. The Boys will be boys was first stained and then hit with Rolling in the Hay Vibez . I seriously love how it turned out!


The Cattails were so fun to alter. You will need 2 of them. First the stems were painted with Green Olive, then blasted with the Rolling in the Hay Vibez and some of the Glorious Day Vibez for a hint of yellow.

I took a cue from fellow CE team member Jen Snyder and pulled out the Stickles for the heads of the cattails which gave them great texture. They were sprayed with Rolling in the Hay Vibez to reduce the shine.


Here they are all done up! Aren't they perfect? The use of multiple colors makes them look more real, I think.

The sweet photo was framed with the "family frame" from the Together Frame Set. This frame was treated the same as the Boys will be boys title piece but turned out a little lighter, probably due to less stain. I also tied a little jute bow to the side of it.

Behind the photo, I placed a bit of actual chicken wire, then aded my flowers and art stones. Lastly, I used my finger to trace some of the Hot Fudge Vibez around the edge of the heart for dimension.

This was a super fun project to create. Don't be afraid to use those odd canvases to showcase a treasured photo!

Thanks for coming by today!


Creative Embellishments Products used:

aveSave

Friday, August 12, 2022

My Heart ~ Oversized Tag for Creative Embellishments

 Good morning, Creative Embellishments fans! 

Sandi Clarkson here with you today sharing my newest Oversized Tag for the CE Design Team. 

Love these Oversized Tags which are roughly 5.5 inched by 10 inches providing just the right amount of space to play on without the commitment of doing a 12x12. I am finding that I enjoy this smaller platform to doing the always popular12x12 layout.


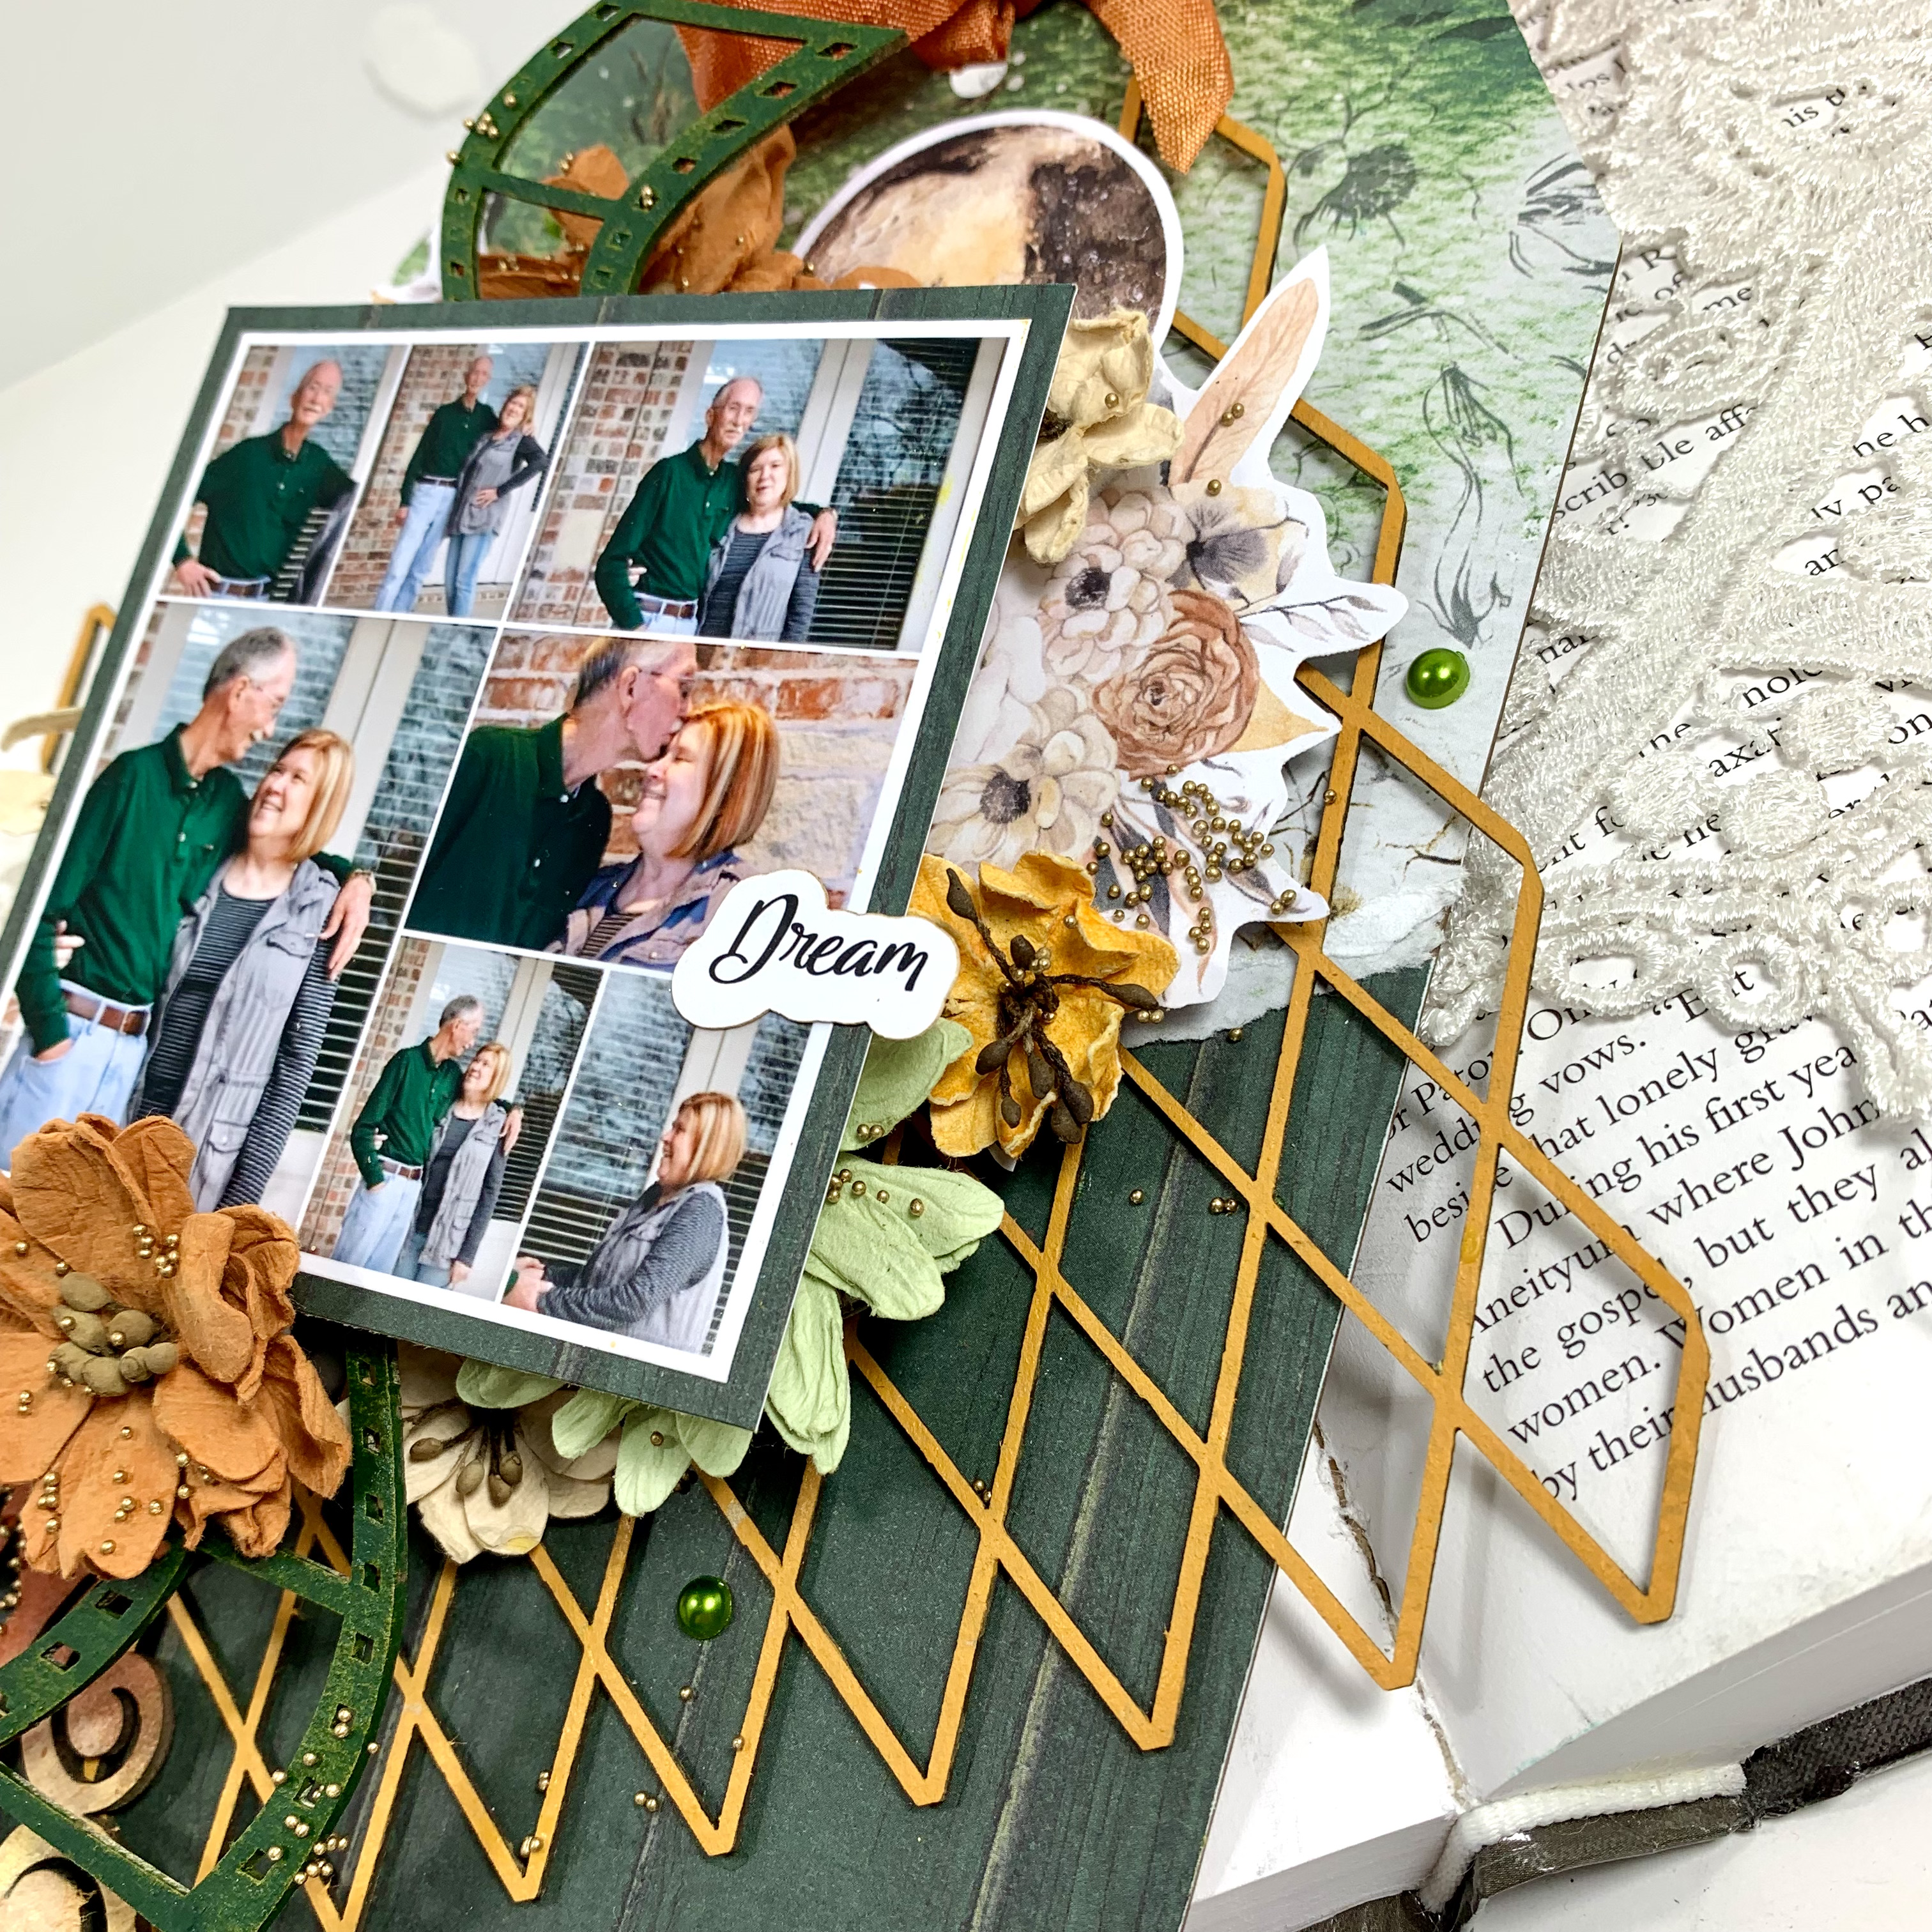
I began by covering the Large Tags with papers from 13 Arts Dreamland collection. I also used this collection for my photo mat along with some accompanying die cut ephemera. 

I hadn't really used one of the 6x6 panels in a while, so I grabbed the Harlequin Lattice as one of my focal layers and painted it with Tim Holtz Wild Honey distress paint. In fact, all my chippys were painted with that medium except for the Wavy Film Strips which I painted with TH Rustic Wilderness.  Additionally, I did tuck in one leftover piece from the Intricate Twist which was covered with TH Wild Honey Oxide and Crackling Campfire Oxide. 


I've always been a fan of the Wavy Film Strips and think they make a nice vertical layering piece. 


Then it was a matter of layering and tucking things in here and there. 
And I love, love the Heartbeat Border


The photo collage is of my husband and myself a few years ago. 
He has gained his weight back but he is sadly very ill right now.


I finished with pearls, gold microbeads and crinkle ribbon. 
No splattering this time! 

Here are some more close-ups:


That's it for today's post! 
See you soon ... 

Sandi


Creative Embellishments products used: 
Chipboard:


Friday, August 5, 2022

"Love Lucy" layout ~ Creative Embellishments

Hello, Creative Embellishments friends! 
Sandi Clarkson here with you today sharing my most recent project for Creative Embellishments. 

A couple of scrappy friends suggested that I create a layout with this photo of Lucy in this particular colorized version. So I created this particularly for them. 


For my papers I've chosen these awesome papers from 13 Arts Rose in Love. 
My CE chipboards are the Flourish Circle Frame and the beautiful Damask piece. Both of them were painted with white acrylic paint and brushed with a silver chalk inker. 

Other Creative Embellishments products used were the Small Circles Stencil and the Distressed Moroccan Stamp


After prepping my paper and doing some paper layering, I used 13 Arts modeling paste and pushed it through the Small Circles Stencil
I've also done some random stamping with brown archival ink and my fave Distressed Moroccan Stamp


The Rose in Love collection has some awesome die cut ephemera that I've tucked here and there along with my older florals. 


To draw the eye to my focal point, I've added color with 13 Arts Blue Sapphire Color Glow. 


For finishing touches, I've splattered my composition. with white gesso and then added a few flat backed pearls. 

Is it about back to school time for you or your grandkids? 
I'm hanging on to Summer even though it is hot, hot, hot here in Texas. 

See you soon! 
Sandi


Creative Embellishments products used: 

Chipboard:

Flourish Circle Frame

Damask

Stencil:

Small Circles Stencil

Stamp:

Distressed Moroccan Stamp


Friday, July 29, 2022

Be Your Own Kind of Beautiful ~ Creative Embellishments

 Hello, Creative Embellishments friends! 

Sandi Clarkson here with you today sharing my newest project as part of the Design Team. 

I'm kind of excited about this one because I'll be gifting it to one of the granddaughters. 

Hope she likes it! 

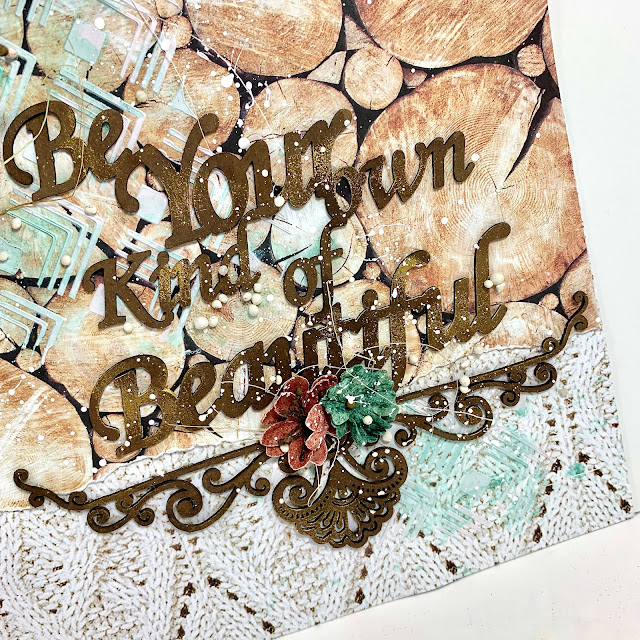
My paper selections are from 13 Arts Home Sweet Home collections. It's such a versatile and neutral collection. Definitely a fave of mine. Since the photo was actually taken last Thanksgiving, the firewood paper seemed a great choice. 

I prepped my background as usual and then applied texture with 13 Arts modeling paste and the new CE Tile Stencil 2. Color was added using the transfer technique. Later I did add more color around the focal area using a paintbrush and water. 


While that was drying, I got busy staining my chipboard with walnut stain. It seemed the best color for these papers and the theme. I did apply some custom wax made with Decoupage wax and 13 Arts Amber Color Glow.  To frame my photo, I've used the Grapevine Frame


I chose some 49 and Market florals to add to my project. Fortunately, I had just ordered some new ones! I have soooo many flowers but am always adding to my collection! Am I the only one? 


I'm loving all the CE chipboard titles but fell for this newish one called Be Your Own Kind...
As a matter of fact, I decided on the title placement as one of my first steps so that I wouldn't be trying to squeeze it in later. 


To anchor the title a bit more and draw the eye that direction, I placed the new Vintage Border 2 underneath the title. Actually, it was placed before the title. For these types of things, I love having my laser leveler. It's wonderful for making sure everything is straight. 

I finished with die cuts, a cabochon and sticker, sisal, art stones and a splattering of white gesso. 

Here are a few more close-ups: 


I'm very pleased with the final project! 

And I hope you are inspired to do some creating!!!

See you next time ... 

Sandi

Creative Embellishments products used:
Chipboard: 
Stencil: 


Friday, July 22, 2022

Altered A/C transceiver ~ Creative Embellishments

Hello, Creative Embellishments friends! 

Sandi Clarkson here with you today sharing my newest Design Team project for Creative Embellishments. 

Today I've altered an old part off of my A/C compressor from last year's replacement.  I kept it intentionally to alter and pair up with a similar part from my Heating unit that I altered a few years ago. Yes, first our Central Heat went out and then the A/C! Yay, me. 


I started by giving the unit several good coats of 13 Arts white gesso. You could still visualize some of the writing on the part but I didn't worry about that and fortunately, it doesn't show. My thinking was that if anything, it would give dimension much like stamping would do. 

Once that was dry I used the Fairy Dust Stencil and 13 Arts modeling paste to create more texture and dimension. Along with using the stencil, I added additional modeling paste just with my spatula and it created a  nice, random textural design. 


Then I added a rainbow of colors similarly to the other device I altered. For this piece, I've mainly used my 13 Arts inks and sprays, the exception being Tim Holtz Wild Honey as my yellow. I had planned to let each color dry before moving on but got impatient and decided that it was fine if I got some muddy color. After all, it represents a not so happy few hours of sweating! Right? 


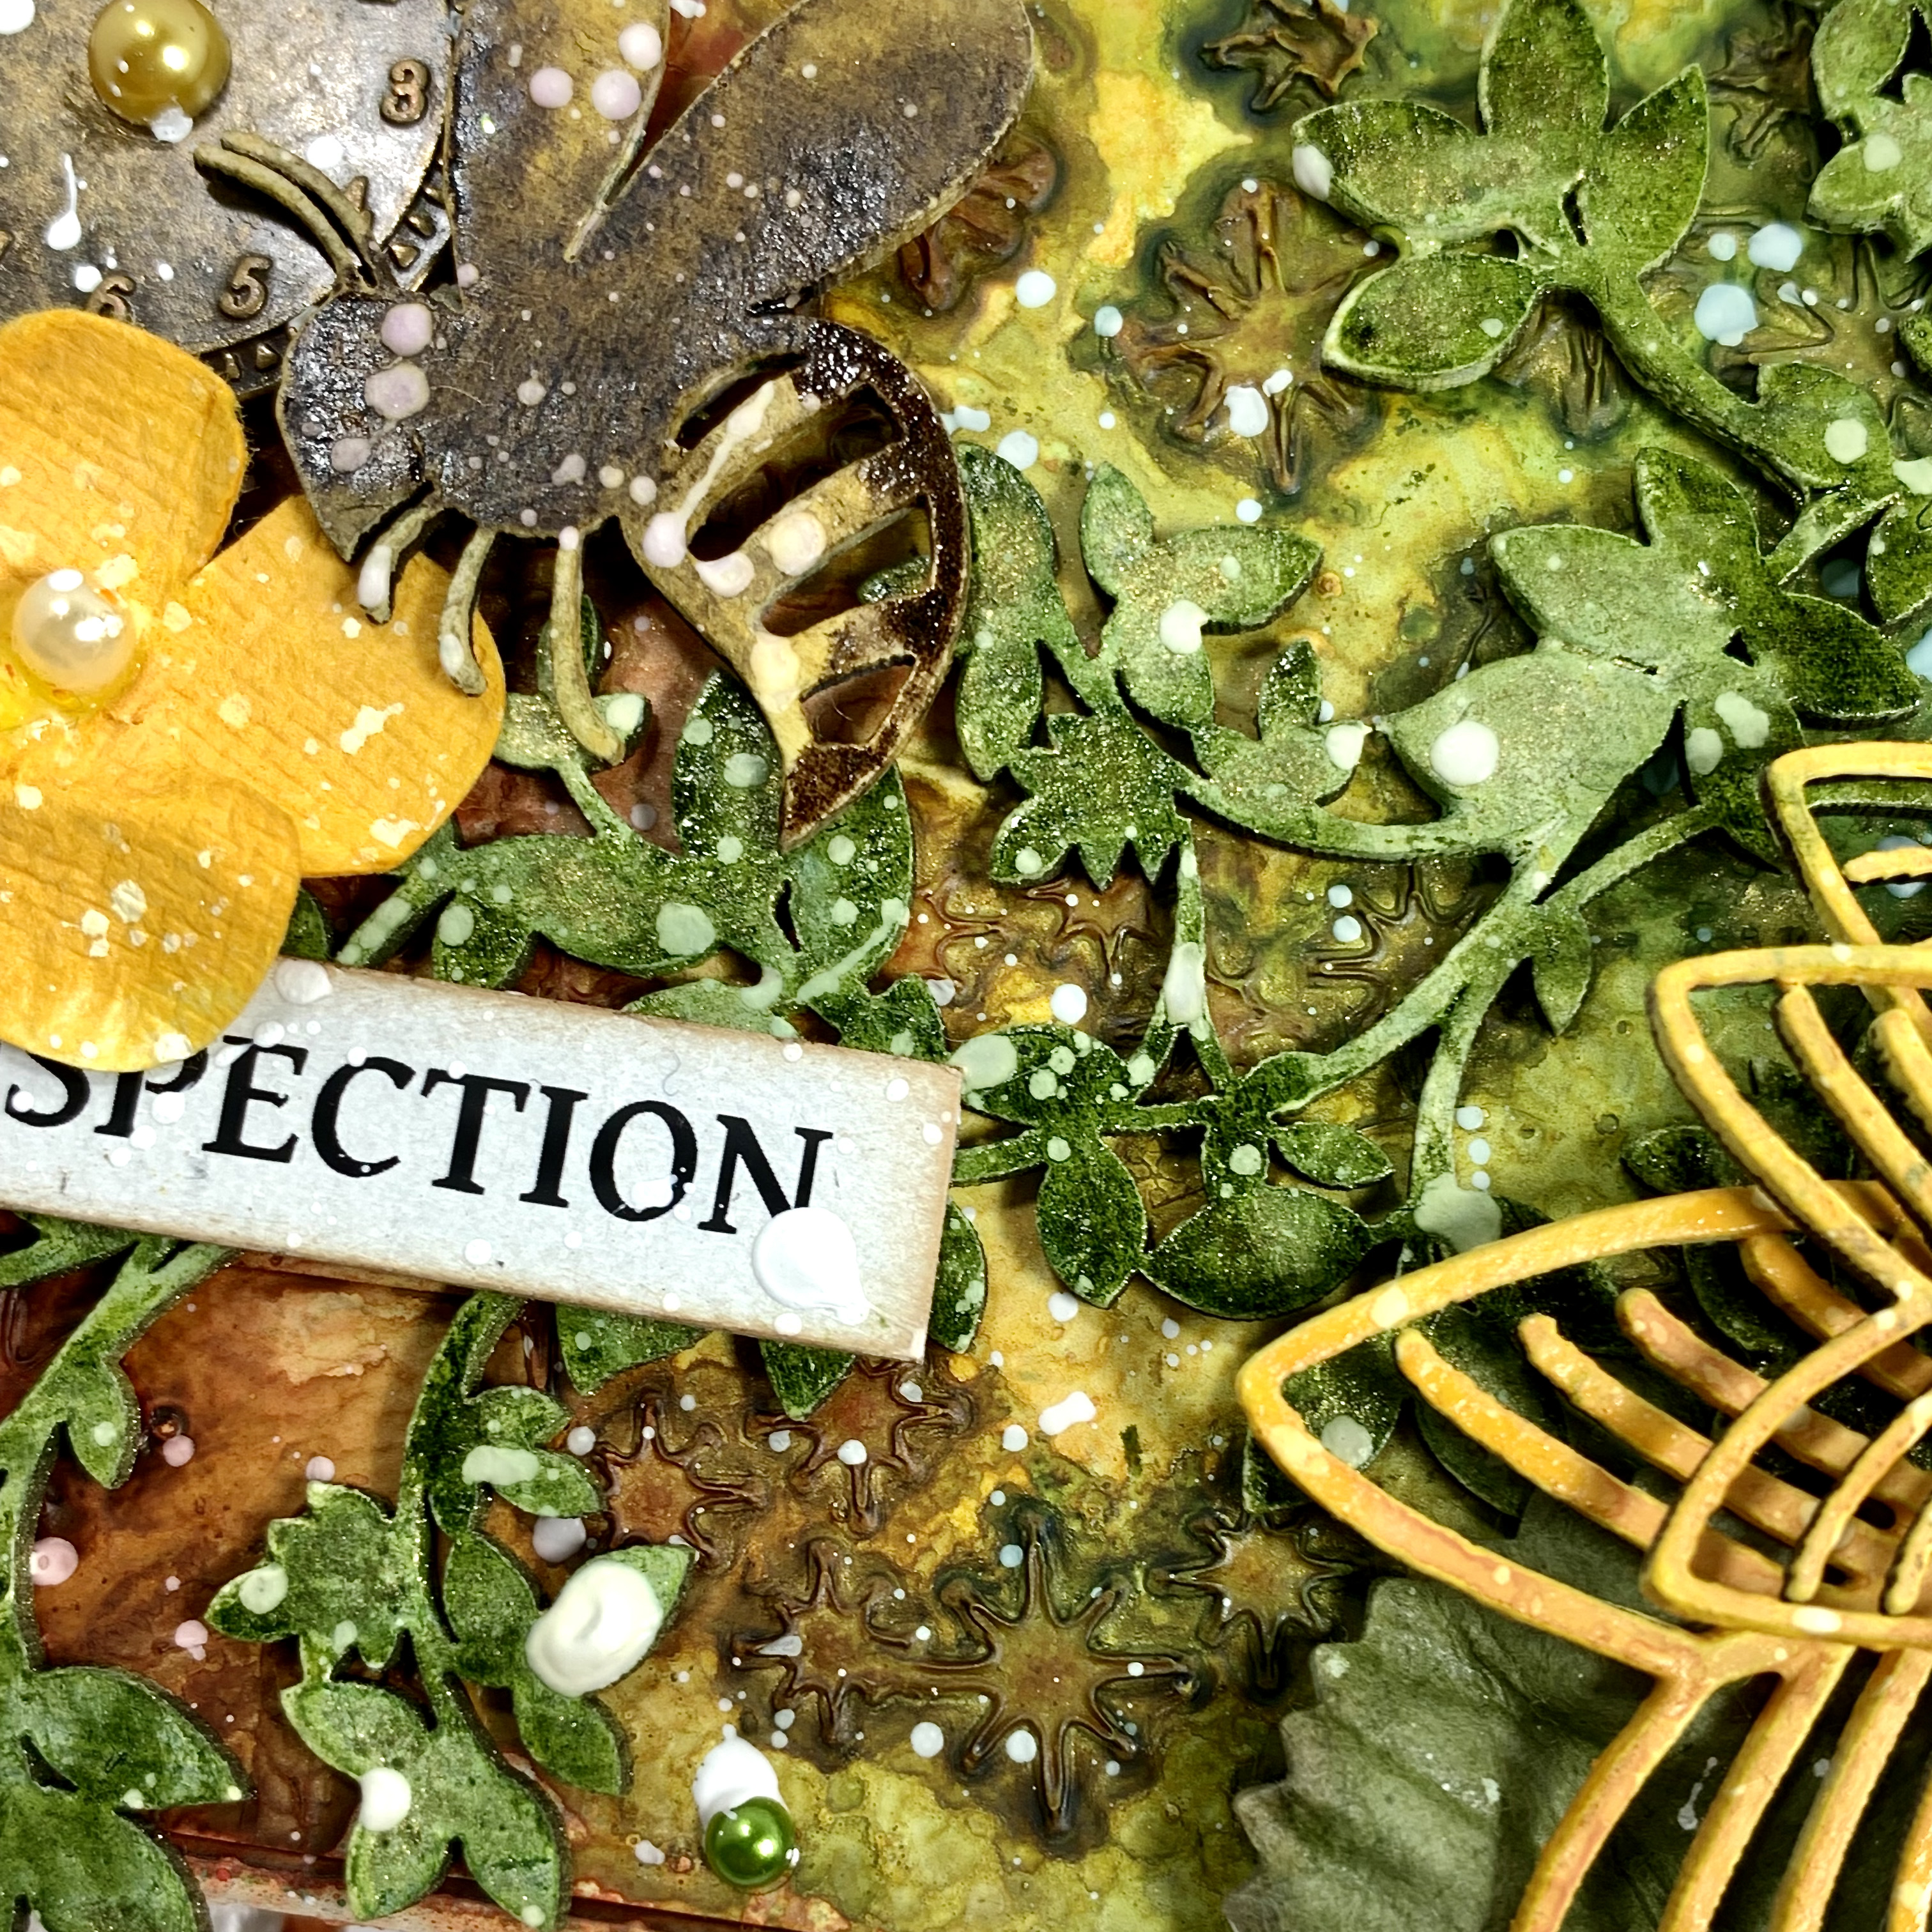
Picking out my chipboard pieces is always fun but also always quite the dilemma given that we have over 4000 designs in the CE store. My inspiration, however, stemmed from the new Funky Floral Set that I had recently received.  For the background, I opted to use one of the Flourish Set 10. And of course, I've been dying to use the bees from the newish Bees Set


All of my chipboard pieces were coated with 13 Arts white gesso to give them tooth. After that the inks were sprayed or painted on. The flourish was altered with my favorite13 Arts Olive Green, the flowers with Tim Holtz Wild Honey and the bees with a combination of Walnut and Wild Honey. Then I allowed  everything to dry overnight. 

The following morning, I pulled everything together starting with the Flourish Set 10 serving as a base layer over the colorized metal unit. Then I added the Funky flower and the bees from the Bees Set


The Funky Floral Set is not really designed for stacking but more to be used as singles or however you would like them. I opted to use them to create a 3 dimensional flower. Love it! I topped it with a pearl in the center and later added a couple of paper leaves underneath. It got dressed with a pretty little bumble bee from the Bees Set which was popped with foam squares. 


The left side of the composition needed a little something to balance my design, so I added a floral, a metal clock, my title and one of the Bees


I finished my design with a few small pearls and some random splattering of white gesso. 


I had thought about adding some gold microspheres but decided against them. 
Occasionally, less really is more, haha! 

Thanks so much for stopping by the blog today! 

Below are some links to the CE products used. 
See you next time! 

Sandi

Creative Embellishments products used: 
Chipboard:
Stencil: