Friday, February 10, 2023

Loving Lucy with Sandi Clarkson

Hello, Creative Embellishments fans!

 Sandi  here with you today sharing a Lucy layout featuring a publicity photo from when she was quite young.


This is one of those projects that took me forever simply because I was trying to conquer too many variable. This paper, that photo, mindful of background images, on and on. When I finally committed to just focus on my chippies, everything fell together so easily! Sometimes you just have to START and trust the process!


My papers are from 49 and Market's Serenity collection plus an additional brown card stock as my base. All my embellishments are from the January LE Kit from My Creative Scrapbook. I've used 3 chippies and they were all altered with Walnut Stain.

After prepping my paper and doing a little stencil work, I determined where I'd place my focal image and laid out my horizontal pieces. From there I knew where I wanted to add my Loved rub-on. Rather than using this as a title, I made it more part of the background images. Then I adhered the horizontal pieces and tucked my Lace Border 7 under the other 2 items.

Of course placing my florals and embellishments were among the last things I did before my paint splatters and adding some final pearls.

Below the Lace Border I added my title from the Gorgeous Small Border Set which again was altered with Walnut Stain.

One of my most favorite frames from Creative Embellishments is the Flourish Circle Frame. After altering it with Walnut Stain, I added some random, scattered  heat embossing using my chunky Stampendous Aged Gold embossing powder.

Here are two more images of the focal area:

Once I finished with my pearls and paint splatters, I finally felt finished! 

This was a fun one to do.

Thanks for coming by the blog today!

See you next time ...

Sandi 


Friday, February 3, 2023

Wedding Canvas ~ Creative Embellishments

Hello, Creative Embellishments friends!

Sandi here with you this Friday sharing my latest canvas board project for Creative Embellishments Design Team.


Well, this is definitely the month of love with Valentine's Day rapidly approaching. So, I decided it would be fun to create a mixed media canvas board using a floral photo and some of my favorite chippies!! And of course, a good coat of crackle paste that I let sit overnight to dry.


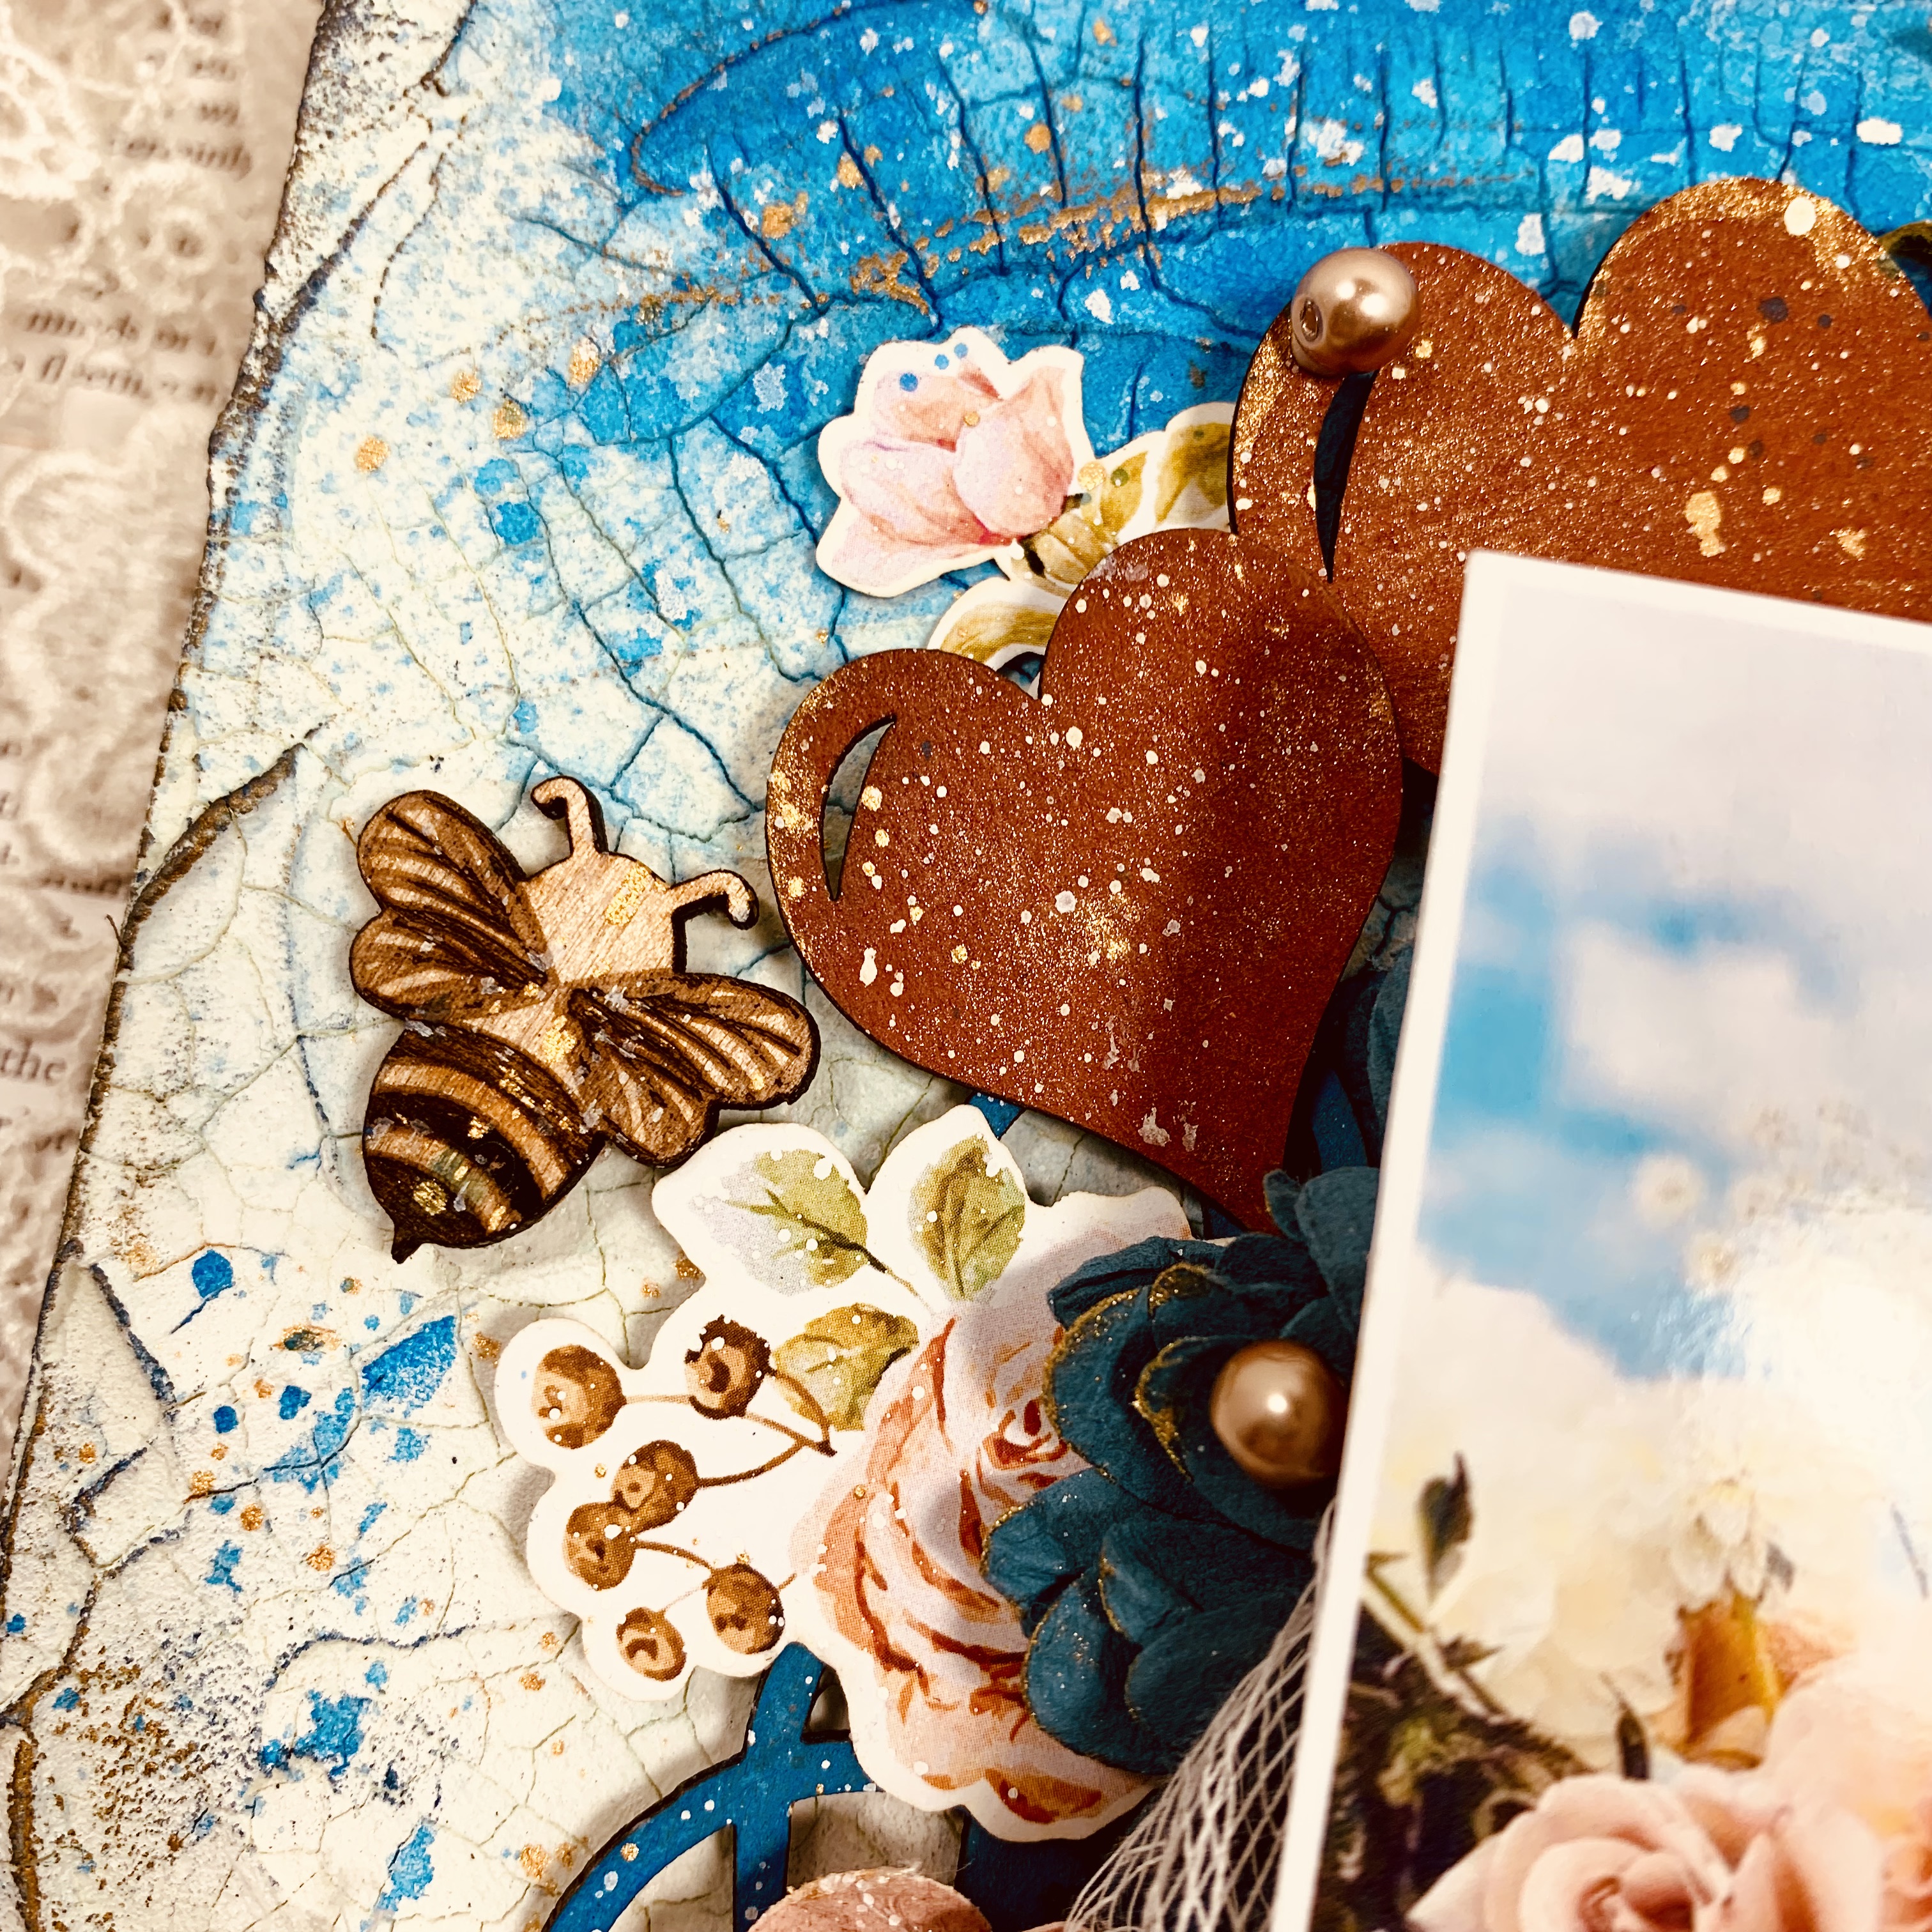
So to start ... after adding some color to my canvas board, I grabbed the Heart Balloon Set and began altering with some older mists from Shimmerz, Tim Holtz and 13 Arts with a dab of Heidi Swapp Shine.  As always, you can see that I just keep mixing until I get the color I want. I could have even gone a bit lighter but I wanted a mix of a coral and red with some gold shine to it. After drying these were adhered near the top.


The second chippy to get my attention was the fabulous Scribbles chipboard. When this design first came out, I wondered if it could fit with my style. Well, let me tell you: this is perfect for so many things. For me, I use it as a layer and it almost replicates the use of thread or other fibers on a project! This one is a must! I've altered it with 13 Arts Pastel Blue mist. You can see more of it a few photos below.


What better thing to focus on during this week's winter storm than a lovely spring or summer day! Along with that thought came recalling the wood veneer  Bumblebees in my stash. These are beautifully etched and there is no alteration required unless you wanted to do so.


Here is another close-up of the Scribbles piece. I just adore this sweet chippy.


But okay, can we have a favorite chipboard piece? Well, I don't know but seriously, this Heart Dangle 2 is just gorgeous! I can't even count how many times I've reached for it! This time I altered it with walnut stain and metallic wax. Love, love, love it!


Here's the other Bumblebee along with some florals, pearls and ephemera.


In the Heart Balloon Set you will get  a couple of balloon clusters along with some singles. I used the singles on the left hand side of the photo.


I always like to take a dimensional shot from the side to demonstrate the height and breadth.


Extra texture was achieved with cheesecloth, florals and pearls.

The final touch was splattering with paint and making sure my edges were low enhanced.

Hopefully today's project will spark some ideas in your own creative mind.


Many thanks for stopping by the blog today!

As always, I'll see you next time!

Sandi

Friday, January 27, 2023

Always Be Yourself ~ Creative Embellishments

Hello, Creative Embellishments friends!

Sandi here with you on this lovely Friday sharing a fun, wintry layout using some of my fave chipboard pieces.


I've wanted to use this awesome photo from Unsplash for a while but it never felt quite right until now. It works perfectly with the papers I used from 49 and Market's Serenity collection.

After preparing my papers, I started with some paper tearing and layering to bring focus to the photo. I even used an old notebook punch to distress my papers even more. Likewise I added a rub-on title that is part of the paper range. Then I did some random stamping with the Retired Circle Bokeh Stamp.  Additionally I added a bit of texture using the Small Circle Stencil. For this I pushed modeling paste through the stencil and then scooped most of it away. I sometimes like that random effect.

For my frame, I've chosen the Pine Needle Frame which I altered with basic white craft paint somewhat stippled on but used heavier than I did on the Mini Leaves 6 which are tucked in amongst my florals under the photo. I also used the paint as a primer for my chipboard title pieces which come from the Everyday Word Set.

I had lots of creative fun in playing with my elements and getting them just so-so. I've used some florals from the January My Creative Scrapbook Limited Edition Kit and elevated my photo and my frame with those and with corrugated cardboard. Next I tucked in those Mini Leaves and adhered them.

I took some pains in getting my chipboard title just where I wanted it and so that the page would feel balanced. I've used TH Blue Ribbon Stain to colorize my pieces. I was able to achieve this lighter shade because my primer was white.

For the cluster on the right, I used a piece from the Distressed Clocks which were treated the same as the Mini Leaves 6. Just a light stipple of white paint. It was adorned with a floral, a subtitle strip and some pearls and sequins.

The finishing step was adding art stones all about to heighten the frosty look and to blend everything together.


Thanks so much for coming by the blog today!

See you next time ..

Sandi

Here is a link to the CE store: Shopping Link


Creative Embellishments products used:

Pine Needle Frame

Mini Leaves 6 

 Everyday Word Set

Distressed Clocks

Retired Circle Bokeh Stamp

Friday, January 13, 2023

Good Night layout ~ Creative Embellishments

Hello, Creative Embellishments friends!

 Sandi Clarkson here today hosting the blog and sharing a lovely new layout.  This is that odd time of year when we usually stop featuring December holiday projects but aren't quite ready for Valentine's Day makes yet. Or are you? Of course, it's a great time for Winter projects but I am leaning somewhere in between Winter and Valentines. I decided I needed to creatively say Good-bye to 2022 but also  incorporate at least one heart shaped chipboard.


I've used some older papers from 13 Arts (Under the Stars) because I love this color range and these particular papers. Earlier last summer I had to step back from the 13 Arts Design Team as far as creating due to my husband's health. I promoted every chance I got but had no time to create. So, that was another Good-bye of sorts. I've decided to go with "Good Night" as my title since this was a bittersweet farewell for me.


After selecting my papers and photo, I prepped my paper with clear gesso so that I could incorporate some stenciling with modeling paste on the lighter paper. For this I've used that Small Stars Stencil. Additionally, I did some random stamping with the retired CE Distressed Moroccan Stamp. If you still have, you know that it's a good one!


I adore CE frames and in particular the round frames like the Love Makes the World Go Round Frame. I coated it as well as my other chippies with a cream acyclic paint from the craft store.. Later I did some inking with TH Peeled Paint Ink and then a peacock metallic wax from Finnabair. Under my photo, I've added corrugated cardboard and lime green moss for texture.


The ivy twigs are from the Flourish Set 10 and were altered much the same as the frames. Here you can also see the stenciling. and a tiny bit of the stamping.


I tucked in another ivy flourish on the right side as well although I deliberately exposed a different portion of it. Near the completion of the layout, I tucked in old Petaloo florals and pearl stems.


I'm also smitten with this good sized oval frame from the Oval Ornate Frame Set. I backed it with some of my starry papers and then adorned it with florals, pearl stems, moss and later gold hologram glitter from 13 Arts. It provides balance for the focal photo and serves as a title backer.


The hologram glitter provides a nice variation of texture and sparkle to the layout. I also did a bit of paint splattering at the completion of the page. There is a very old Prima crochet embellishment tucked in on the left.


And one last look at the layout from this side.

Hopefully, you will find some inspiration on the CE blog.

We can't wait to see your creations.

For a direct shopping link to the Store, click: HERE.

See you next time!

Sandi


Creative Embellishments products used: 

Love Makes the World Go Round Frame

Flourish Set 10

Oval Ornate Frames

Small Stars Stencil

Retired Distressed Moroccan Stamp


Friday, January 6, 2023

Winter Wonderland Canvas Board for Creative Embellishments

Happy Friday, Creative Embellishments friends!

Sandi here with you today sharing a wintry 8x10 Canvas Board.


I began by applying Golden Crackle Medium to the canvas and letting it air dry overnight. Although I had planned an all-white project, in the end I opted to add color and applied Tim Holtz Distress Tumbled Glass Stain using water to move the color. Additionally, I used a wet baby wipe to remove color in various sections of the piece. I later did some random stamping with the retired CE Circle Bokeh Stamp and black archival ink.

While that dried, I applied white paint to the Large Butterfly Flourish #4 and set it aside to dry.

For me, the Butterfly seemed the perfect way to welcome in the New Year!


After adhering the Butterfly Flourish, I began to rework my original plan and opted to use a photographic ephemera from Tim Holtz's Christmas Botannicals. It's kind of the perfect dreamy photo of friends enjoying the Winter weather and one another.

Next I splattered TH Tumbled Glass Stain and Pearl Gold mist from 13 Arts. While that dried, I built up my photo layers using the beautiful 49 and Market ARToptions Holiday Wishes die cut pieces.


I had a few florals remaining from my December My Creative Scrapbook Kit and used those as texture for my piece.


When all the die cuts were set, I added some flat backed gold pearls, again from Idealogy.


Lastly, I splattered watered down white paint to complete the snowy look and to blend everything together.


I could probably have added more texture but reached a point where I felt the project was complete. So, I listened to my inner self and called it good.


Aside from my Large Butterfly Flourish, I've used no other CE chipboard which is usual for me. However, I felt the large piece could hold it's own and I just enjoyed the creative process.


Here is a view from the side to show you the dimension I achieved with my layers.


Although I'm not a fan of cold weather, I do enjoy creating a wintry look this time of year. Do you?

Thanks for stopping by the blog today!

See you next time.

Sandi


Creative Embellishments products used: 

Large Flourish Butterfly 4 

Retired Circle Bokeh Stamp